
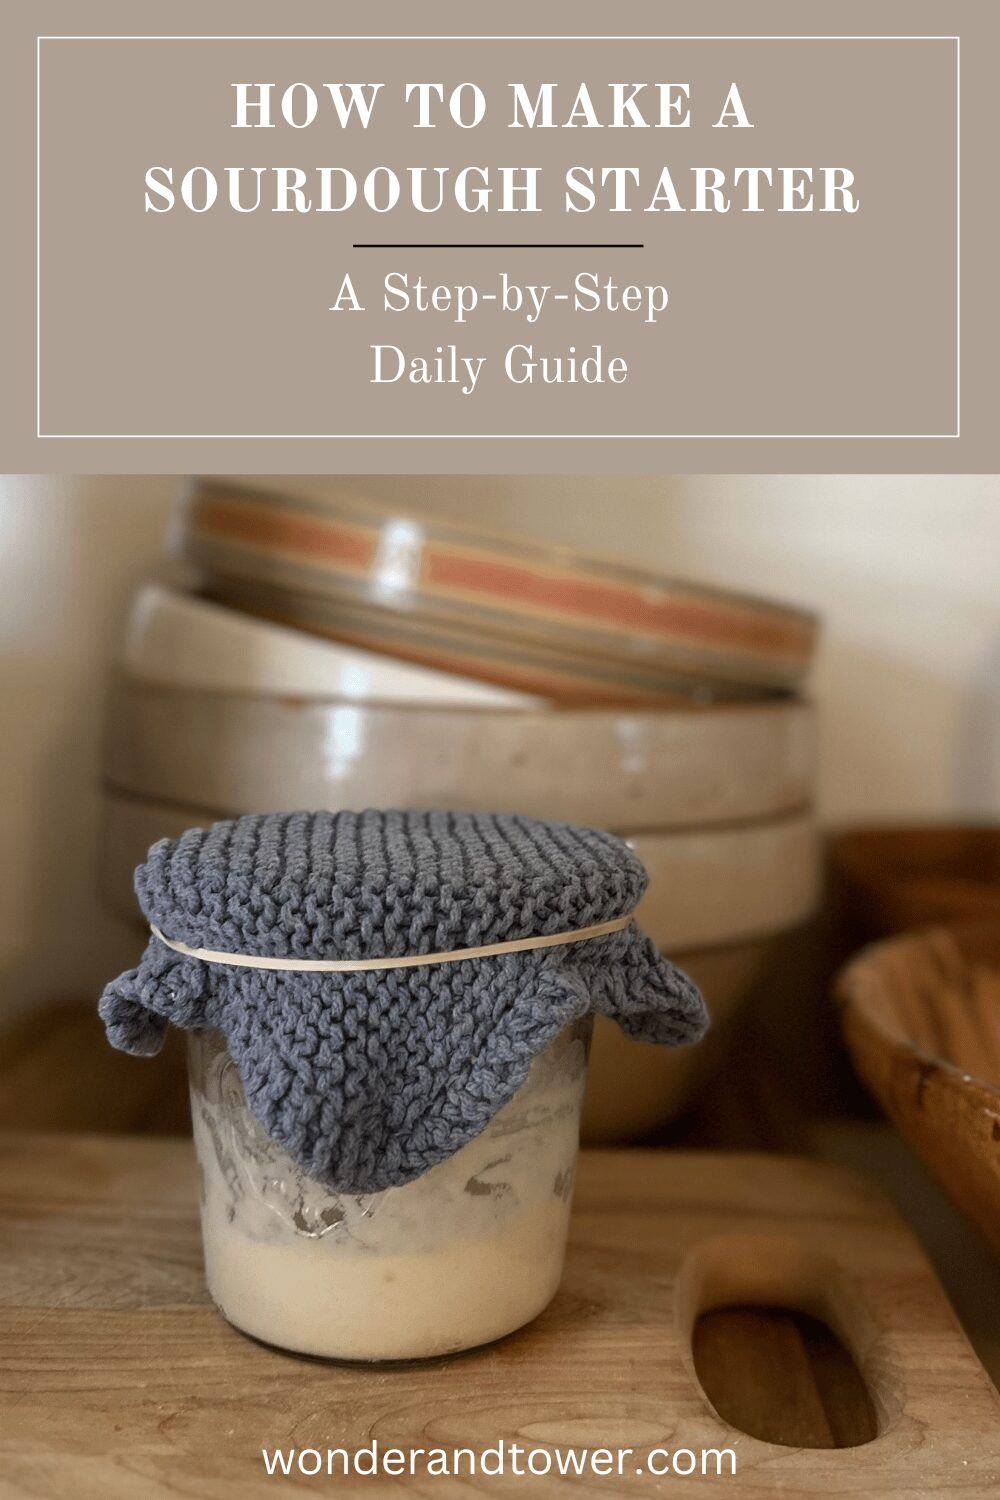
Sourdough Starter Recipe: A Step-by-Step Daily Guide
With a little patience and flour, let’s make you your very own sourdough starter using my Sourdough Starter Recipe: A Step-by-Step Daily Guide.
Sourdough bread is magical! It’s not only good for your gut because the flour has been fermented, but it’s also easier to digest, and it’s delicious! If you’ve ever been curious about sourdough but felt intimidated, starting your own sourdough starter is one hundred percent simpler than you think.
Related: How to Dehydrate Sourdough Starter for Long Term Storage
This simple sourdough starter recipe is perfect for beginners and uses only flour and water (no commercial yeast in my recipe). Even if you’re using best flour like organic rye or just plain white flour, it’s amazing how this fermented mix of flour and water can make such good sourdough bread.
What is a Sourdough Starter?
A sourdough starter is a fermented mixture of flour and water that uses wild, natural yeasts and good bacteria from the environment.
This means it uses wild yeast instead of store-bought yeast to make the bread rise through a fermentation process. Natural leavening!
This natural leavening agent for sourdough bread gives it its characteristic flavor and texture that makes sourdough bread so unique.
Unlike commercial yeast, sourdough starters are alive and need a little care to thrive. This is not hard AT ALL, and you can do it!
What You’ll Need for this Sourdough Starter Recipe
- Flour: Unbleached all-purpose, whole wheat flour, or bread flour.
- Water: Filtered warm water or bottled water. Avoid tap water.
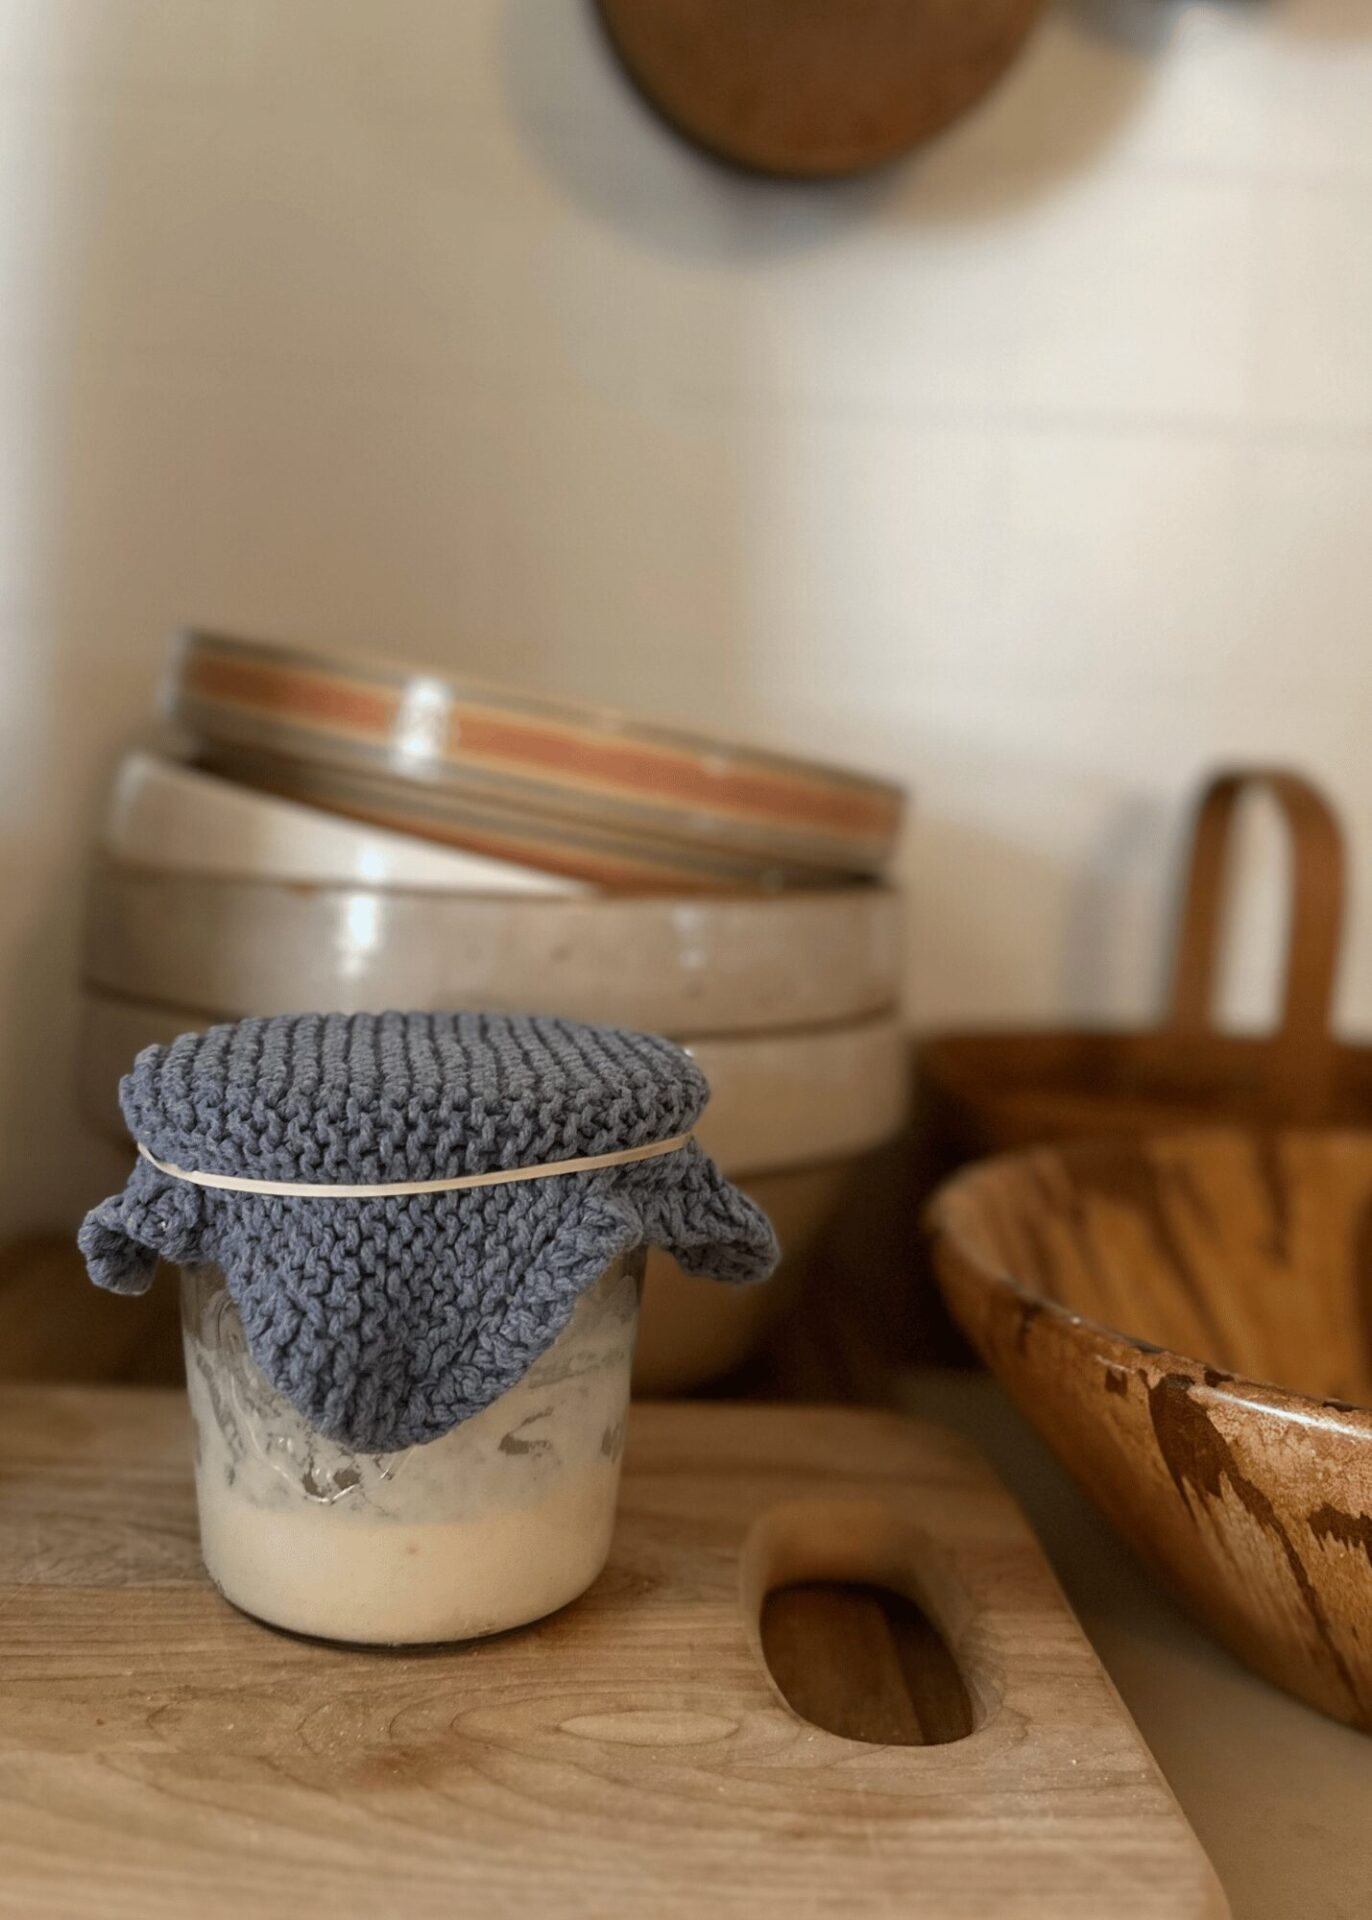
- Glass jar or container: A wide mouth jar works best. I love these Weck jars.
- Scale or measuring cups: Accuracy is key, so a digital kitchen scale is recommended. You can start your stater without one by using measuring cups, but you will need one once you start baking bread.
- Spoon or spatula: I like to use a small spatula or small, wooden spoon. Long handled works best. Avoid using metal spoons.
Choosing the right type of flour can make a big difference in the first days of your sourdough journey. It’s a good idea to save experimenting with new flour like whole wheat or rye to boost wild yeast activity after you’ve got your starter established. Just remember to keep feeding with equal parts (like ¼ cup flour and ¼ cup water) to keep your starter balanced.
Using g room temperature water instead of cold or chlorinated tap water helps your starter thrive. If your kitchen is chilly, try a proofing box or warm oven light to create a cozy space for fermentation. Or you can even warm up a cast iron skillet for a minute, turn off the burner, and place your starter on it to warm like a hot pad! A little warmth goes a long time in developing a strong and ripe sourdough starter.
Related: Simple Sourdough Bread Recipe
This post contains affiliate links, which means I make a small commission at no extra cost to you. Please read our disclosure policy.
Some store-bought breads lack the flavor and health benefits of sourdough. Making your own with this most popular recipe means no additives. Just natural fermentation. I’ve included affiliate links to my favorite sourdough baking supplies below.
Step-by-Step Daily Instructions this Sourdough Starter Recipe
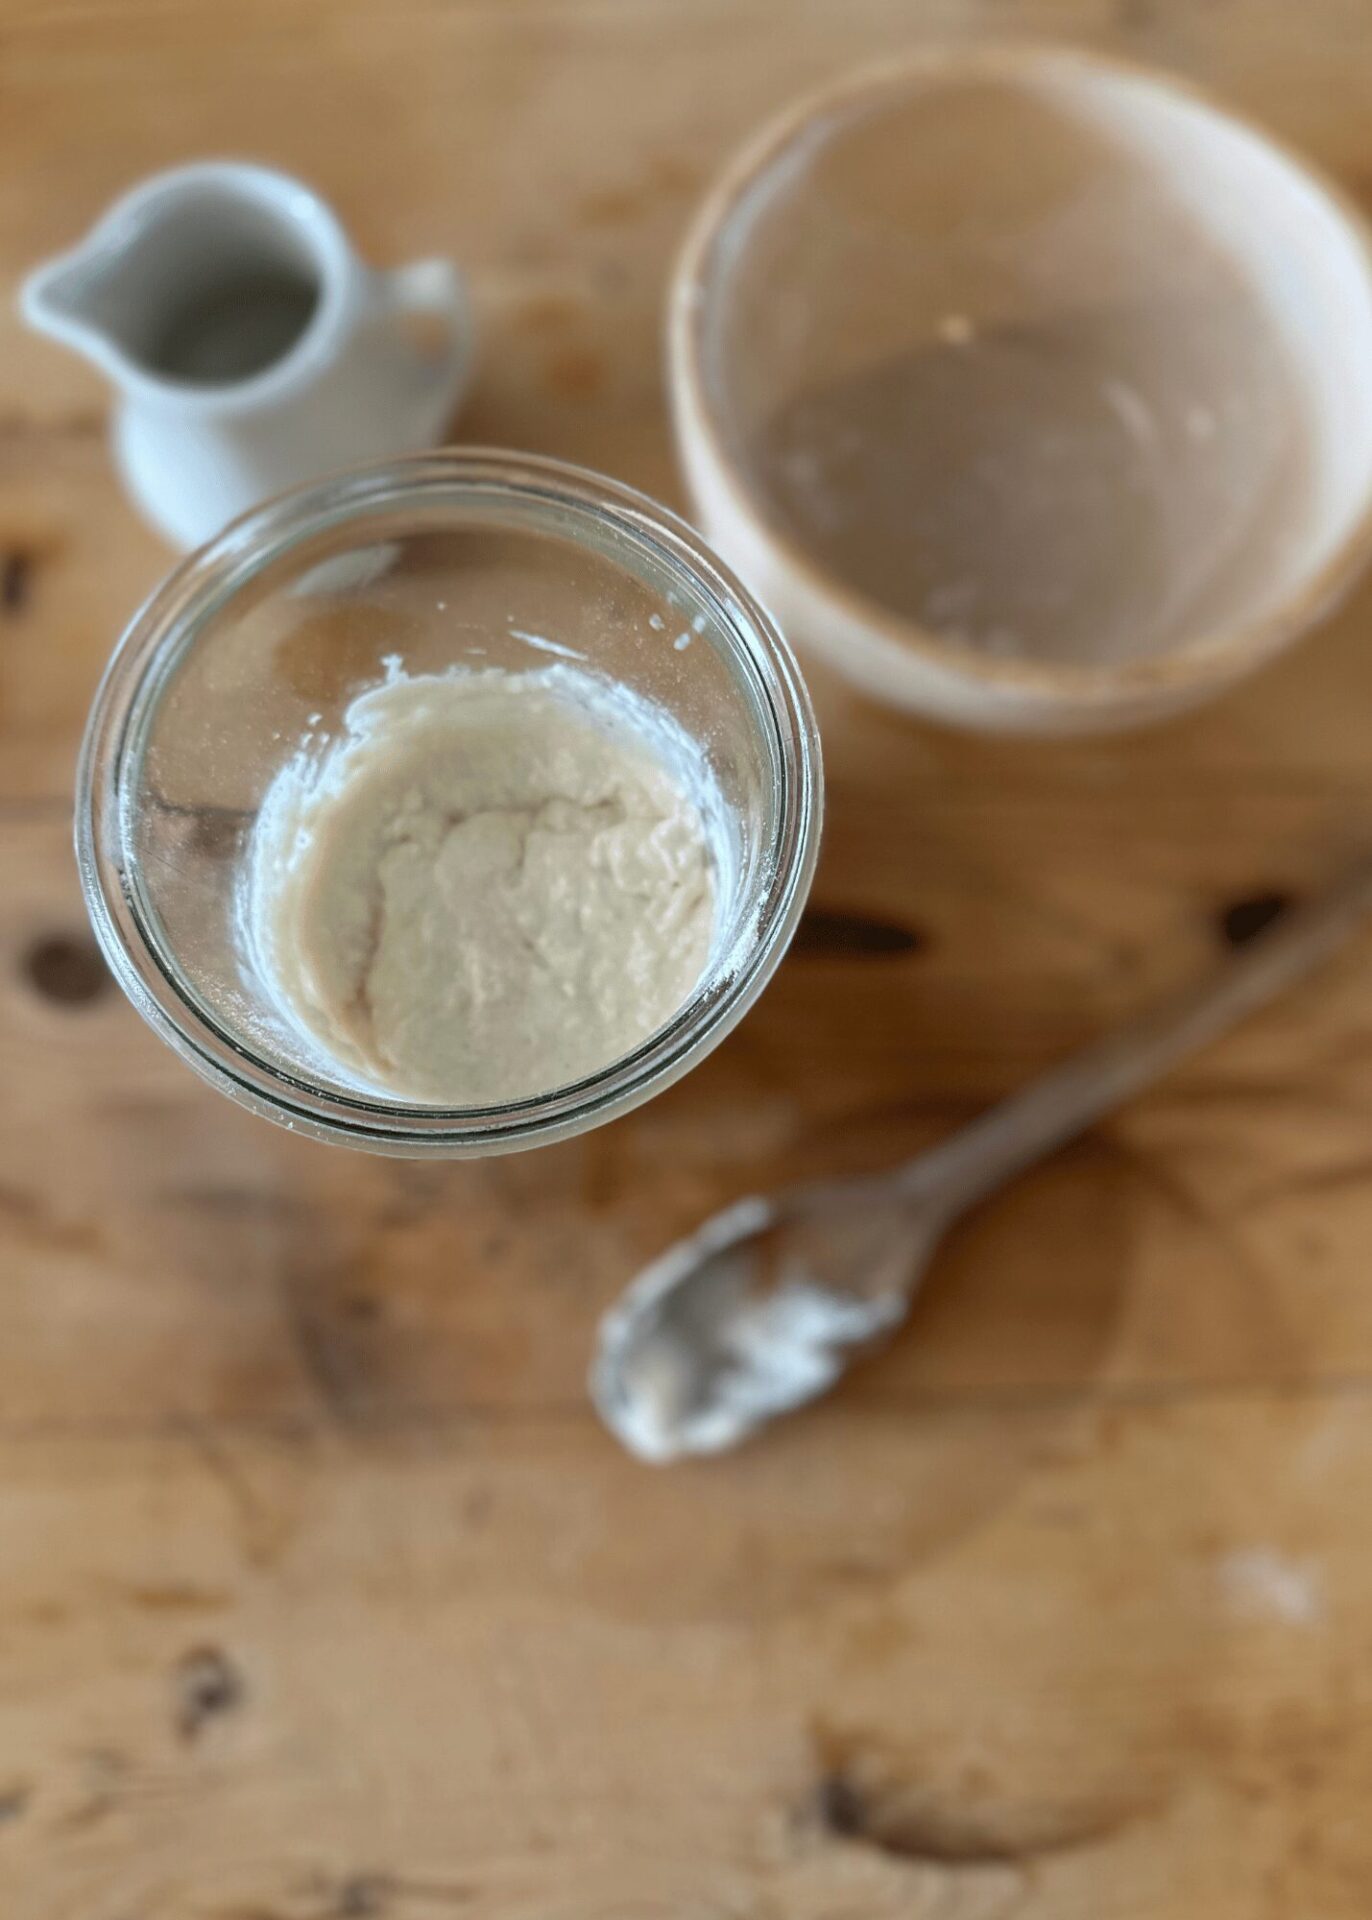
Day 1: Mix the Ingredients
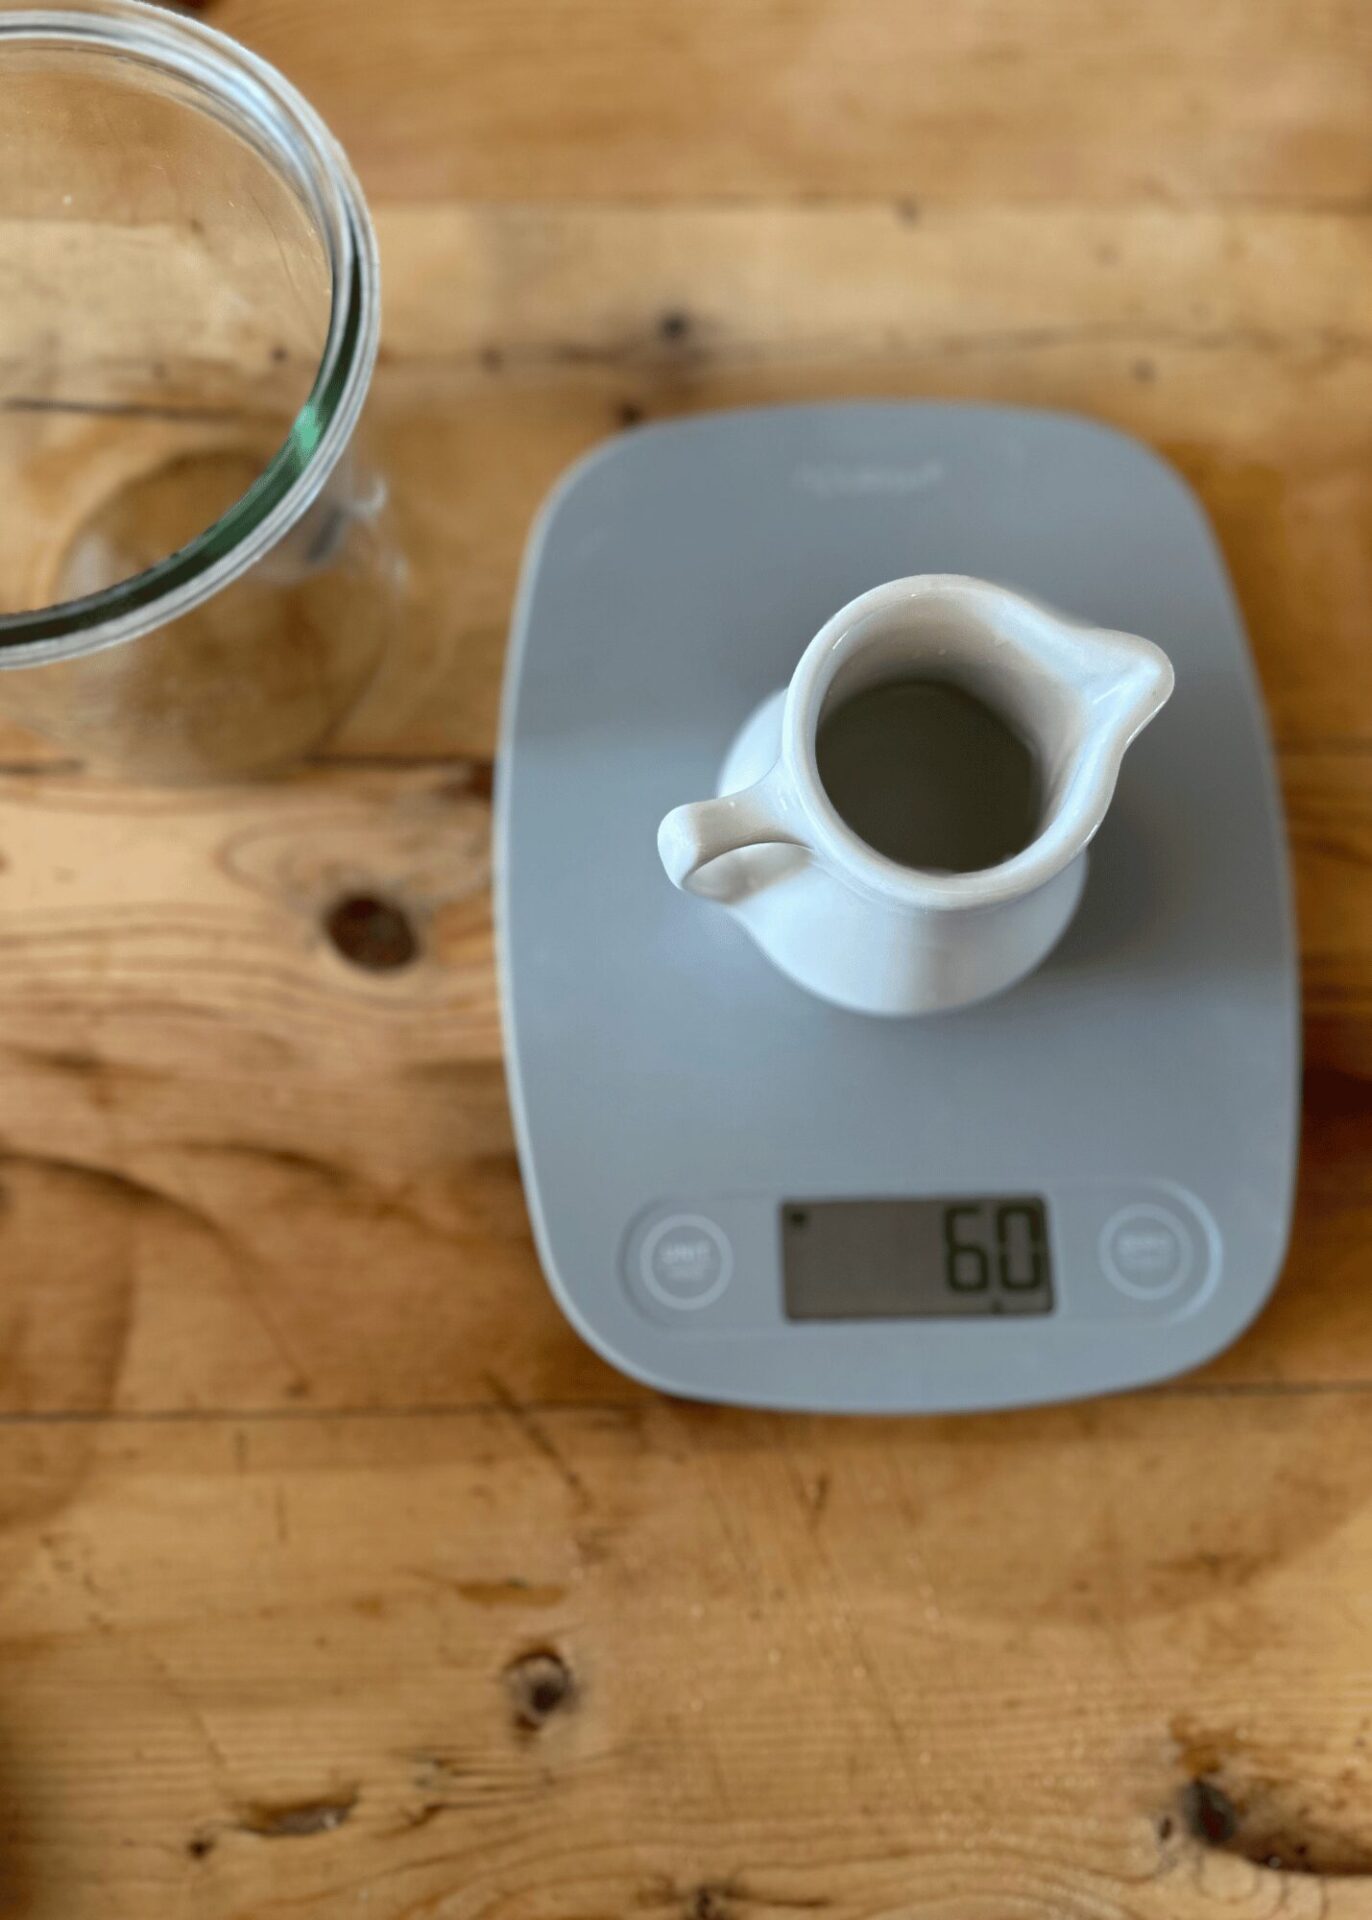
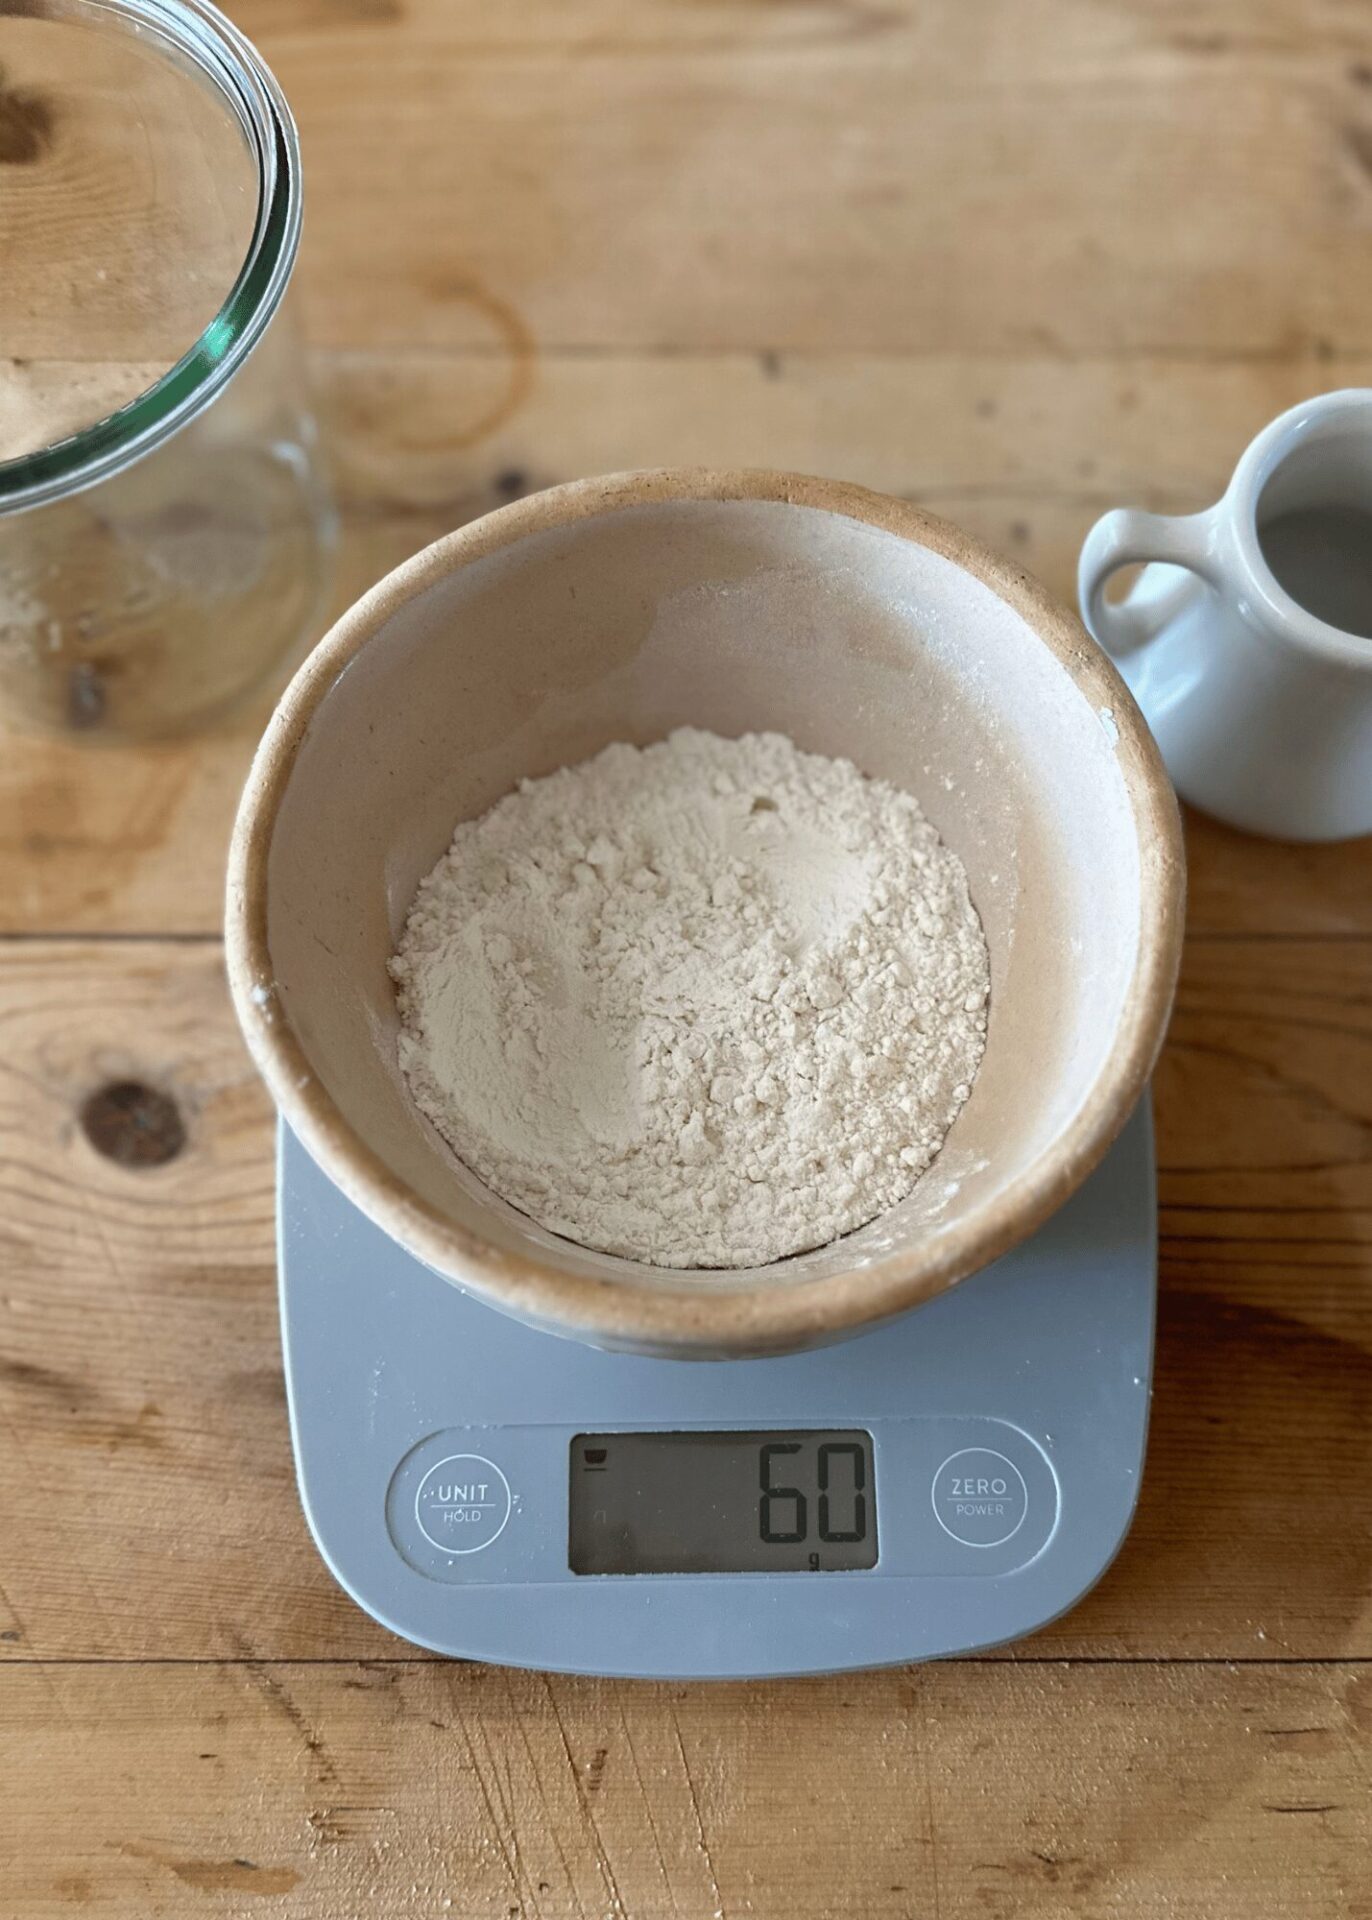
- Combine 60 grams (about ¼ cup) of all purpose flour and 60 grams (about ¼ cup) of filtered water in in a clean jar. Give it a stir until there isn’t any more dried flour.
- Next, cover the jar loosely with a lid or something like cheesecloth with a rubber band (only if you have it, don’t go buy this). This allows for airflow but also keeps out dust.
- Place the jar in a warm spot and leave it alone for 24 hours. Patience is key for best results!
Day 2: Check and Feed
- On day two, you are going to discard (fancy word for throw away) half of what you mixed up yesterday. You want to do this because you want the wild yeast that is growing to get fed with the right amount of flour and water. This aids in making a strong sourdough starter! You will probably not see any difference in the starter from where you left it yesterday. That’s normal!
- Next, you are going to do exactly what you did yesterday. But now it’s called “feeding your starter”. So, feed the remaining starter 60 grams of flour (about ¼ cup) and 60 grams of water (about ¼ cup) in your jar. Give it a stir until there isn’t any more dry flour.
- Place the jar in a warm place on your kitchen counter, and leave it alone for 24 hours.
Hey friends, please don't forget to follow me over on Instagram! I post more photos and ideas over there. If you enjoyed this recipe, I would really appreciate it if you would review it so others can find it and cook it as well. Sharing this recipe on Facebook or Pinterest is another great way you can help me out at not cost to you.
Days 3-5: Feed Your Sourdough Starter Daily
- You will continue doing what you did on Day 2 every day for the next three days. A rhythm of discarding and feeding, and then letting it sit and letting the magic happen!
- Bubbles should start forming, and you may notice a tangy smell developing. It may seem yellow or look gross, but trust me, it’s part of the process!

Day 6-7: Up the Feedings for Your Hungry Sourdough Starter!
- You should have some bubbles forming, so now we are going to strengthen that beneficial bacteria that is making the wild yeast by feeding it every 12 hours instead of every 24 hours. Discard and feed the same amounts, 60 grams (about ¼ cup) of flour and 60 grams (about ¼ cup) of water. The easiest way to remember is to set alarms on your phone for this to simplify so you don’t forget.
- By day 7, your sourdough starter is strong enough that you can start to make some sourdough discard recipes if you would like, instead of throwing it away. Your choice!
Day 8 and Beyond: Enjoy Your Little Baby Sourdough Starter!
- By day 8, your sourdough starter should be strong and have lots of bubbles. To check it, put a spoonful in cold water and if it’s ready, it should float. This is known as the “float test”. This means you now have active starter.
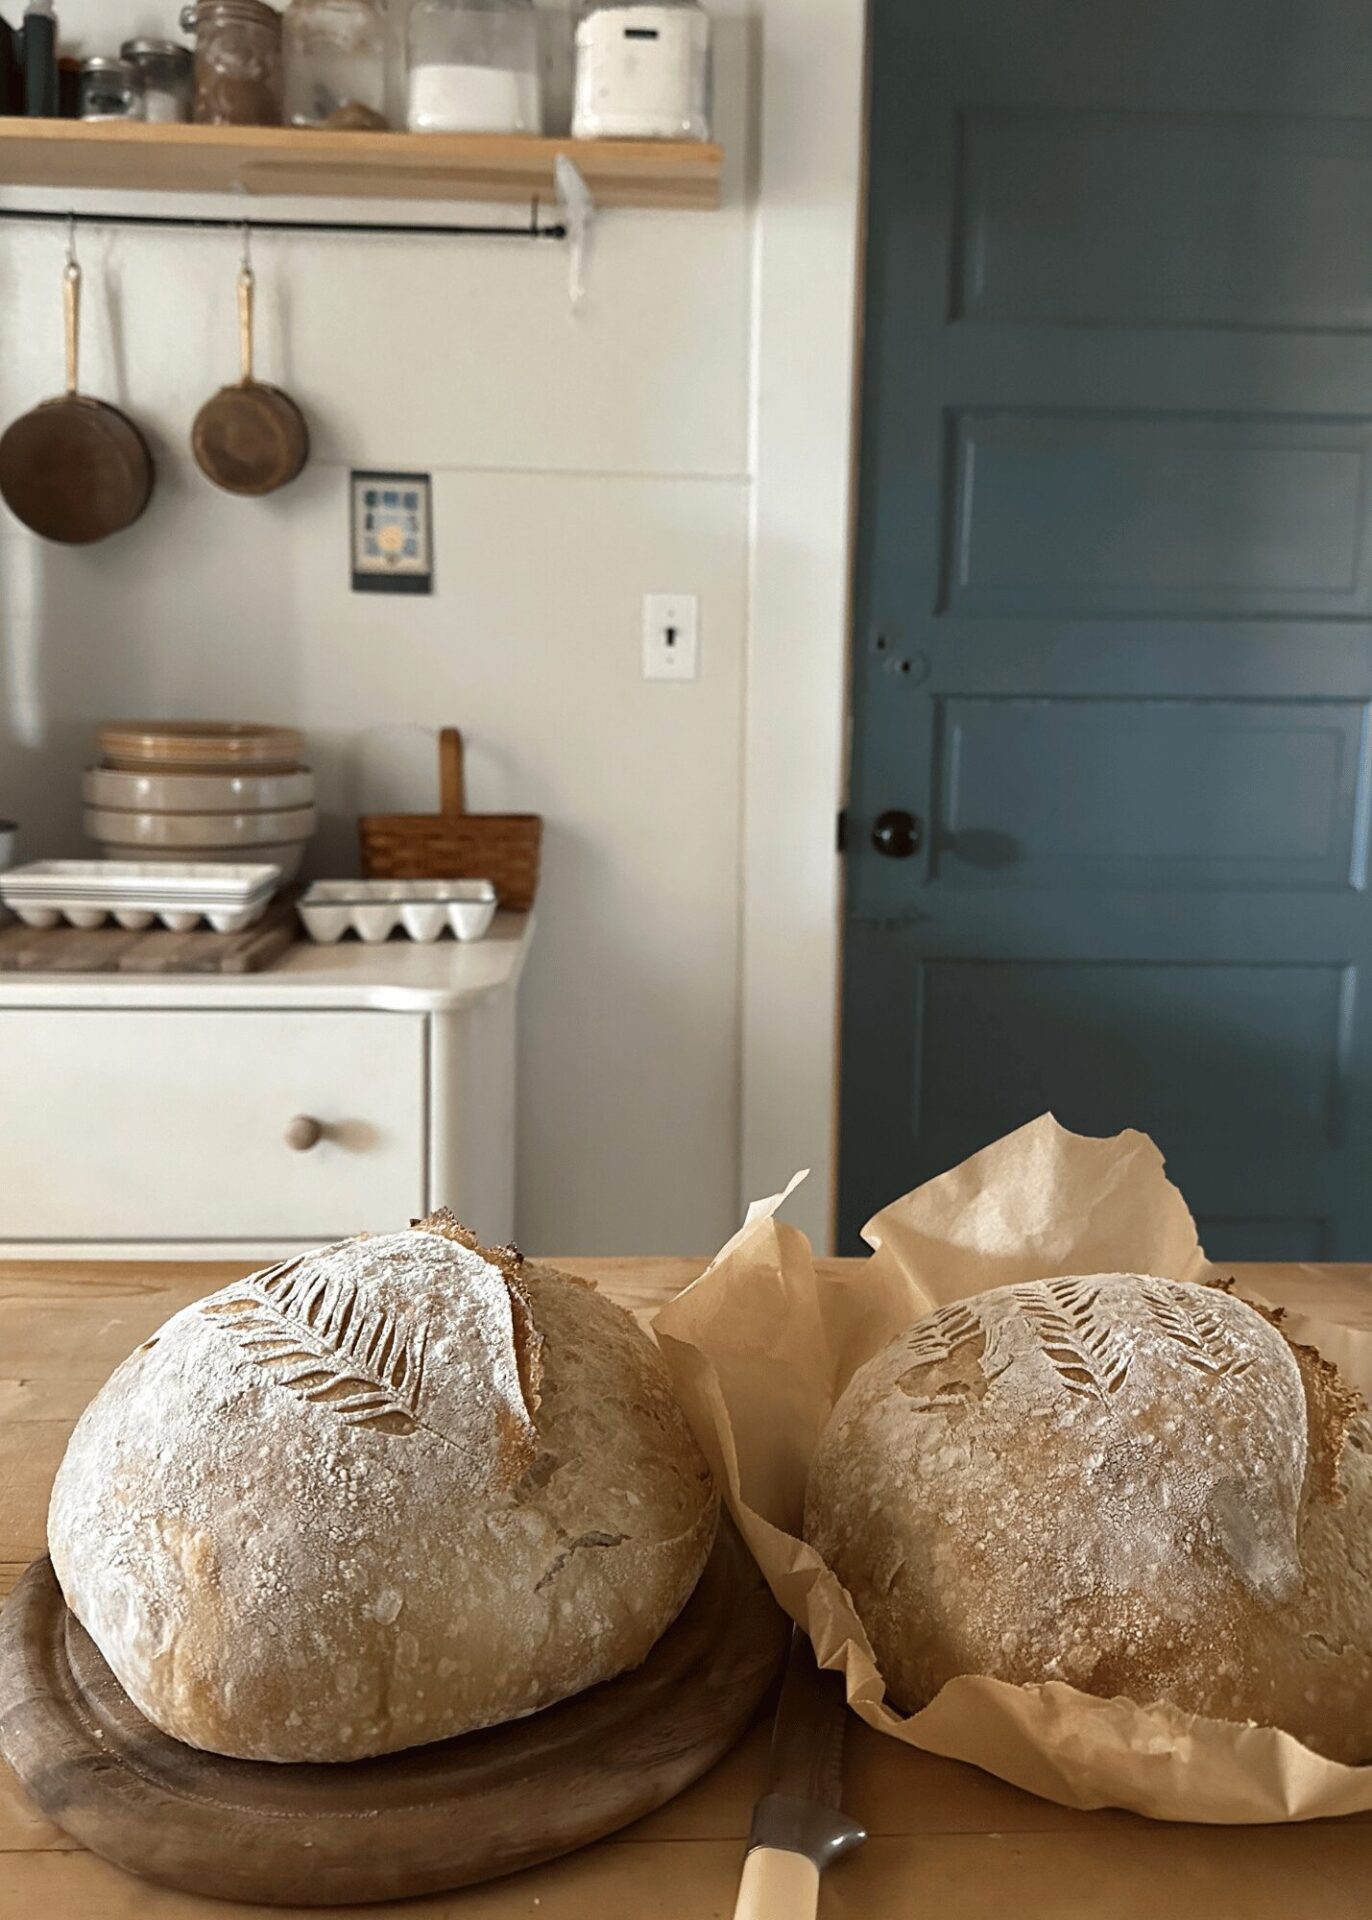
- You did it! You were patient and made it, and now you are a proud mama or papa of your very own sourdough starter! You can start making bread or any other sourdough recipes. Great job!
Curious how much starter you really need? For most recipes, ¼ to ½ cup of starter is more than enough. You can even scale it down to avoid waste. The next time you bake, just pull it out of the fridge and let it warm up before feeding.
Now that you’ve made your sourdough starter, you’re ready to bake your first loaf! Grab this free downloadable basic sourdough bread recipe. Perfect for beginners. It’s simple, no-fuss, and a great way to put your bubbly new starter to good use!
This Homemade Sourdough Discard Bagels Recipe is a great way to use your sourdough discard
Troubleshooting Common Issues
- No Bubbles: Check to make sure your flour is fresh and your water isn’t chlorinated.
- Bad Smell: A healthy starter should smell tangy, not rotten. Discard and start over if your starter smells off.
- Mold: If you see any mold, toss the starter and begin again.
Using and Storing Your Sourdough Starter
- Once your new starter is active and bubbly, it’s ready to use! If you’re not baking daily, you can store your starter in the refrigerator and feed it once a week to keep it healthy.
- Pour off any black liquid that may form. This is called “hooch”, and it’s just your starter’s way of saying “I’m hungry!”
- I like to give it a clean glass jar and a 60 g flour, 60 g water feed to give it a boost. Leave it out to warm up if you plan on baking with it. You want to feed it so your starter doubles. Enjoy your active sourdough starter and this new sourdough journey!
Favorite Sourdough Recipes: Easy Sourdough Sandwich Bread and White Chocolate Sourdough Discard Scone Recipe.
Tips for Your Sourdough Starter
- If you’re using whole grain flour like rye flour or fresh flour, you’re giving your sourdough starter a great head start. These flours contain more natural wild yeast and lactic acid bacteria—perfect for building a strong, bubbly culture. It’s a good thing to switch it up every few days with white flour for balance.
- When starting your own starter, stick with equal parts flour and water by weight. If using cup measurements, remember that different flours absorb water differently. For a more accurate mix, try using 60 grams water and 60 grams flour.
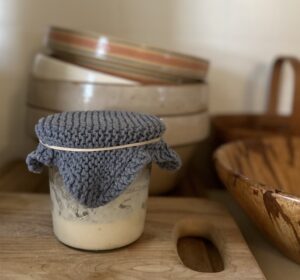
- Wondering what’s the best way to keep your starter active? Store it in a glass jar loosely covered with a lid or even plastic wrap. Just make sure to allow some air flow for fermentation. You can use spring water or room temperature water to avoid killing the beneficial bacteria.
- This easy sourdough starter recipe is just the beginning of a delicious journey. Once you have a ripe starter, you’ll find that baking can become a comforting rhythm. Be patient during those first days, and refer back to this blog post anytime you need a little bit of help!
Sourdough Starter Recipe
Ingredients
- All-purpose flour
- Filtered Water
Instructions
- Combine 60 grams (about ¼ cup) of flour and 60 grams (about ¼ cup) of water in your jar. Give it a stir until there isn’t any more dried flour.Next, cover the jar loosely with a lid or something like cheesecloth. This allows for airflow but also keeps out dust. Place the jar in a warm spot and leave it alone for 24 hours.
- On day two, discard half of what you mixed up yesterday. Then feed the remaining starter 60 grams ( about ¼ cup) of flour and 60 grams (about ¼ cup) of water in your jar. Stir until there isn’t any more dry flour. Place the jar in a warm spot and leave it alone for 24 hours.
- Repeat for days 3, 4 and 5.
- On days 6 and 7, you will repeat the process of discarding and feeding, but start feeding your growing sourdough starter every 12 hours instead of 24 hours. Make sure your jar is staying in a warm spot.
- By day 8, your sourdough starter should be nice and bubbly. You can test to see if it is ready to bake with by placing a spoonful in cold water. It is ready to go if it floats.
Notes
- Store in the refrigerator in between uses.
- When ready to use, warm it up on the counter and give it a small feed to get it nice and active again.
- Sourdough Starter is very hard to actually kill. Unless it’s moldy, it should activate again by warming and feeding.
pin it for later…
More Posts To Enjoy:
- 50+ Best Cleaning Quotes and Sayings
- How Long to Proof Sourdough (Complete Guide)
- The Wonder & Tower Homemaker’s Library: 30+ Free Printables
- 20 Easy Ideas to Save You Money on a Tight Budget
- 20 Creative Journaling Ideas (Bible Journaling for Women)