
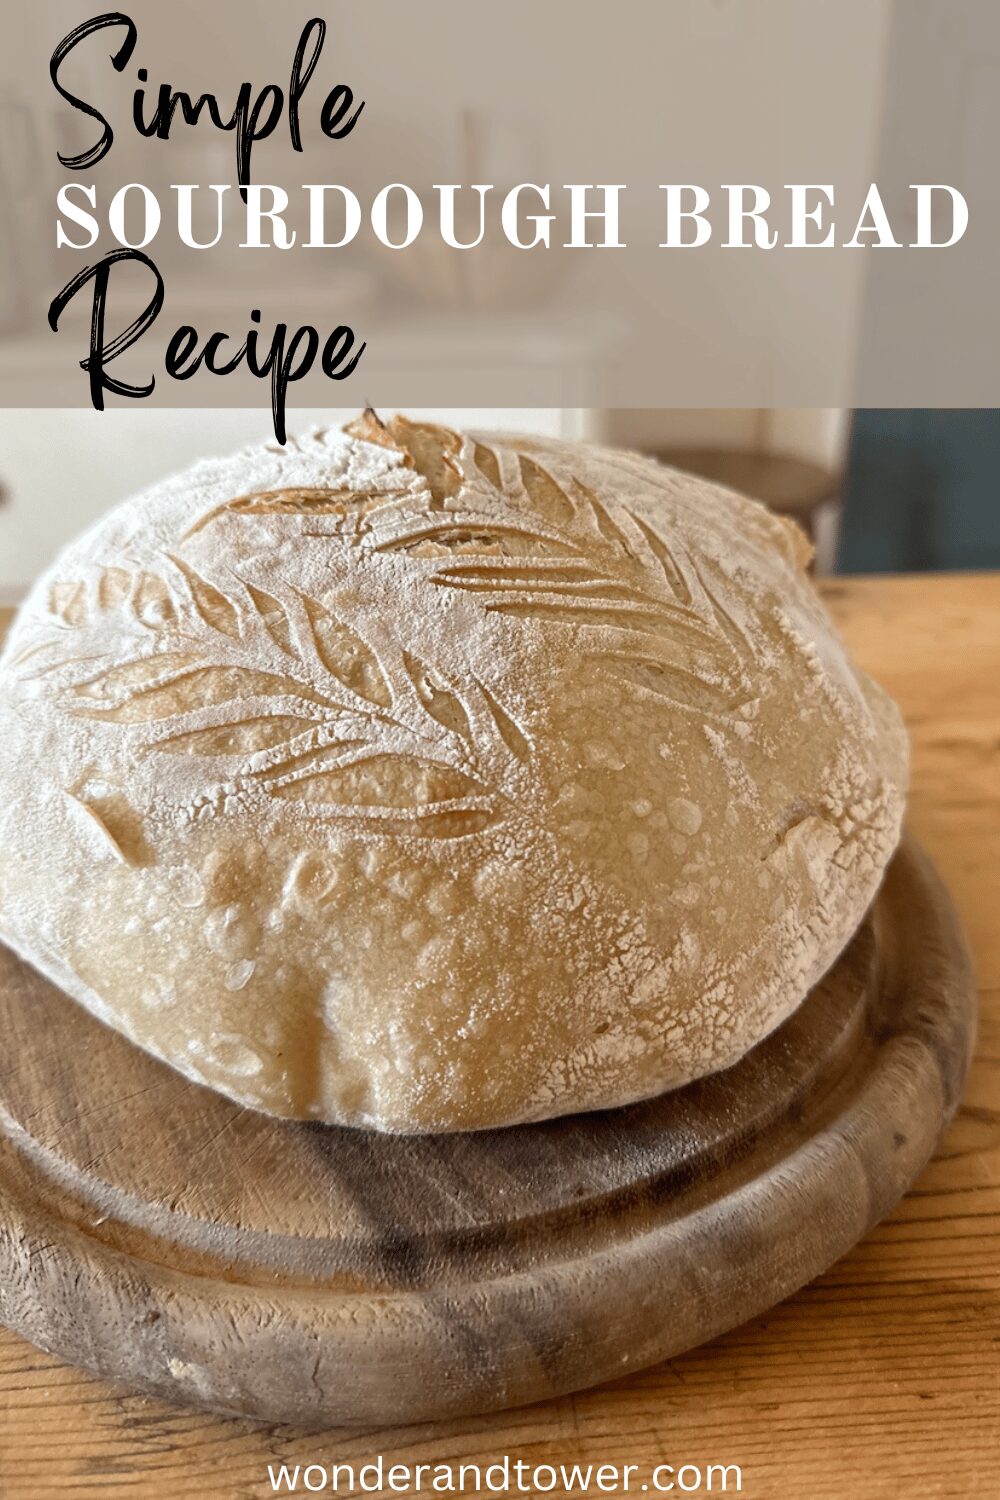
Simple Sourdough Bread Recipe
Learn how to make this simple sourdough bread recipe with this step-by-step guide! It is perfect for beginner sourdough bread bakers, and walks you through what to do to make a delicious loaf of sourdough bread.
This sourdough bread recipe is very beginner- friendly and uses very simple ingredients you probably already have at home! Sourdough bread is easier to digest and doesn’t require commercial yeast. It has an amazing flavor that is unmatched. You will be making your own sourdough bread in no time, and will never want to go back to store-bought.
How I Started Baking Sourdough Bread
I started my sourdough journey about 5 years ago. I actually started right before the covid sourdough craze hit. I spent about a year trying different recipes.
I made some really bad bread during that time! I was finally able to come up with my process and recipe through trial and error to be able to get consistent, delicious loaves. And I am going to share how I make my sourdough bread recipe!
Before I start sharing my sourdough starter recipe and method, I want say that this is a process, for sure, that takes a few days. So it is a lot of steps. BUT the steps are so simple and quick. The main ingredient in sourdough bread baking is time. Most of the time required for this recipe is passive, hands-off time where the sourdough starter is feeding and growing into your loaf. It’s magic!
Sourdough Terms
- Starter – A mixture of flour and water that captures wild yeast and bacteria to naturally ferment and cause bread to rise when baked.
- Levain – The French term for sourdough. It’s a part of your sourdough starter that is mixed with flour and water, left to ferment and grow, and then used in your sourdough bread recipe
- Discard – A portion of the sourdough starter that is removed before feeding to maintain balance and prevent overflow.
- Feeding – Adding fresh flour and water to the starter to keep it active and growing.
- Hydration – The ratio of water to flour in a starter or dough
- Autolyse – The resting period at the beginning of your sourdough bread process. After mixing flour and water, you wait for the flour to soak up the water and sourdough starter, all the while, the gluten starts to develop naturally before you add the other ingredients.
- Scoring – Cutting the surface of the dough right before baking to allow air to escape the dough during baking.
- Bulk Fermentation – The firs long rise of your dough after mixing the dough and stretching and folding. This allows the yeast and bacteria to begin to develop structure and flavor.
- Stretch and Fold – Technique used after mixing dough to strengthen the dough instead of kneading.
- Final Proof – The last rise before baking, often done in a bowl or banneton in the refrigerator.

Supplies Needed
- Large mixing bowl
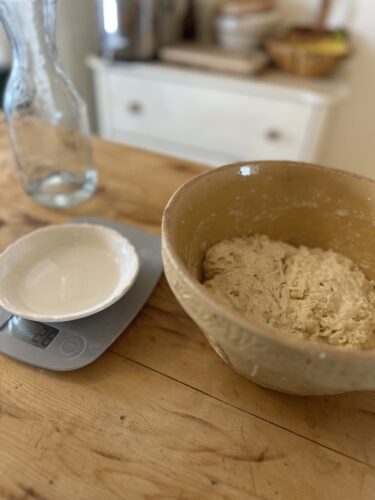
- Kitchen scale for accuracy
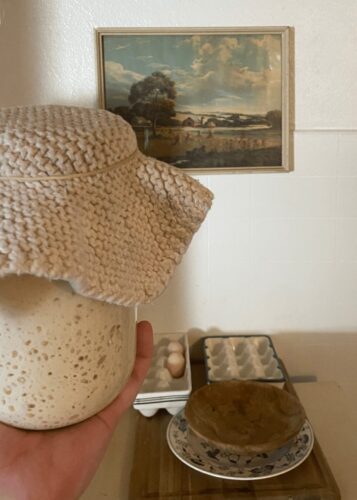
- A healthy, strong sourdough starter. Here’s my sourdough starter recipe.
- Bench scraper
- Dough whisk or wooden spoon
- Banneton or a bowl with a towel
- Lame or razor blade for scoring
- Dutch oven or baking stone
- Parchment paper
- Cooling rack
Ingredients Needed to Bake Sourdough Bread
(Measured in grams for best accuracy)
- 450 grams flour – I use unbleached, all-purpose flour
- 325 grams filtered water
- 125 grams active sourdough starter
- 10 grams salt
How to Make This Simple Sourdough Bread Recipe
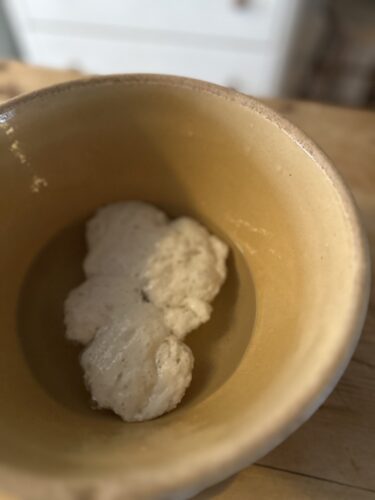
Day 1: Feed Your Sourdough Starter
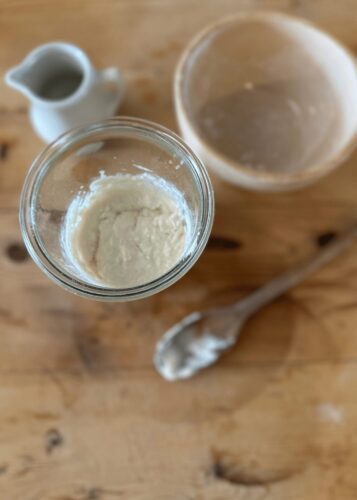
In a small clean jar, mix 50 grams filtered water, 50 grams flour, 10 grams sourdough starter. This is ensuring your sourdough is strong and ready to bake with.
You can put your original starter back in the refrigerator until next time. If that original starter is getting low, add 30g water, 30g flour to it. Store it in the refrigerator.
Day 2: Make Your Levain
Your sourdough starter should now be nice and bubbly. Now take another bigger, clean jar and mix 135 grams of filtered water, 135 grams of flour, and 30 grams of your sourdough starter you mixed up yesterday. Mix well and set aside. Overnight works great for this, but at least 4-6 hours to give it time to get nice and bubbly. This big feed is called your levain. You can discard whatever is leftover from yesterday.
Day 3: Mix Your Sourdough, Stretch and Fold, and Shape
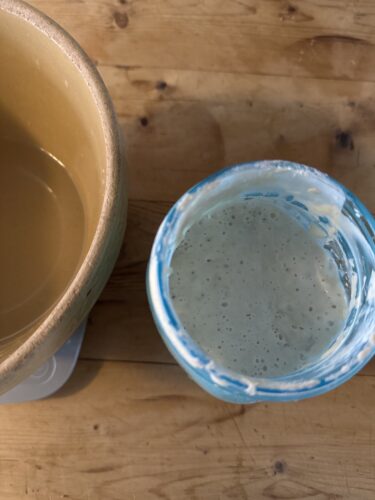
Step 1: Your levain you created yesterday should be ready to use. It should be nice and bubbly. Once it’s reached full potential and starting decrease is the best. It should float in cold water.
Step 2: In a large bowl, mix 300 grams of filtered water 125 grams of the sourdough levain from the day before. Add 450 grams of all-purpose, unbleached flour. Mix this well and let sit for 30 minutes to autolyze and for the flour to soak up water.
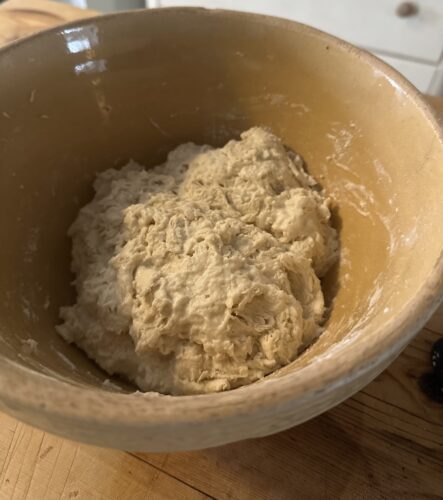
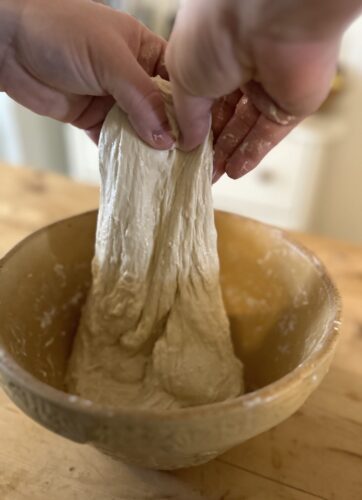
Step 3: Now add 10 grams of salt and 25 grams of filtered water to your dough. I like to premix these in a small bowl and then add to make sure it gets well incorporates. Pinch into your dough, as shown in the photo below, until it is all mixed in.
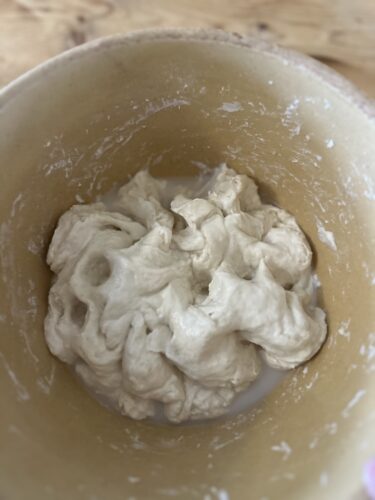
Step 4: Mix well with your hands, and then you will start doing a series of stretch and folds every 30 minutes for a total of 4 times. This will take 2 hours total.
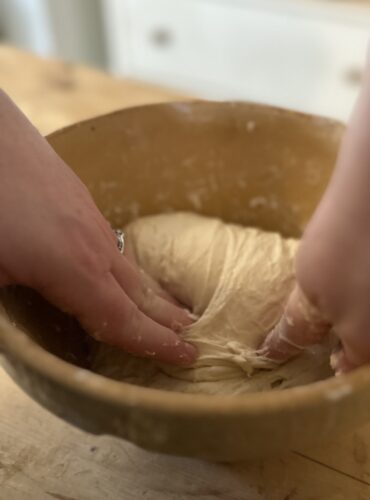
Step 5: After you have completed 4 rounds of stretch and folds, let your dough sit in a warm spot and long ferment until doubled. This will usually take 4-6 hours, but will depend on the temperature of your home.
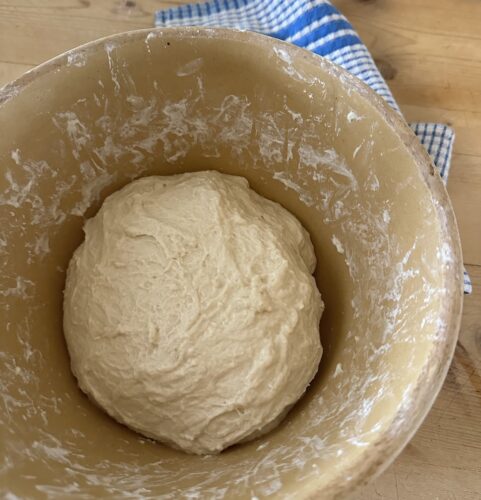
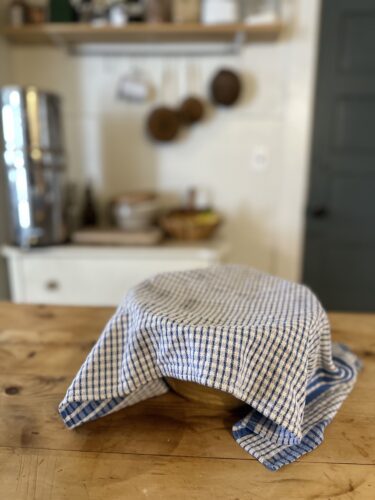
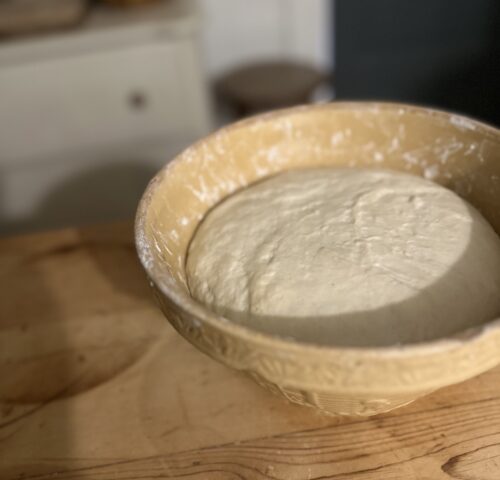
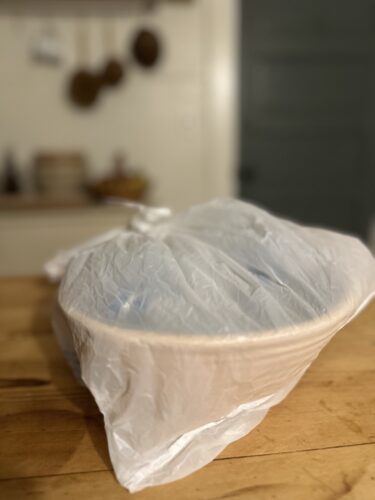
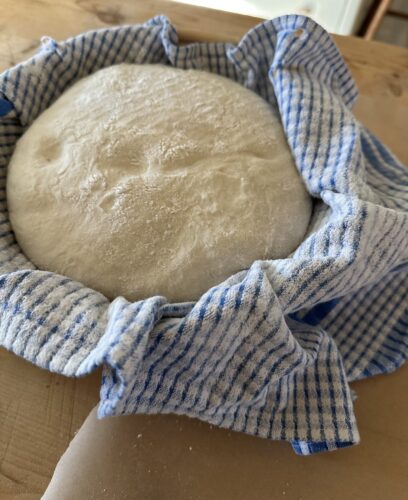
Step 6: After your dough has doubled, empty out the dough onto a lightly floured surface. Shape it into a round loaf using the counter to build tension as you shape. Next, you will then place your dough upside down in a round bowl or banneton. Tie a small plastic bag over your bowl to hold in moisture. Place in the refrigerator overnight.
Day 4: Scoring and Baking Your Sourdough Loaf
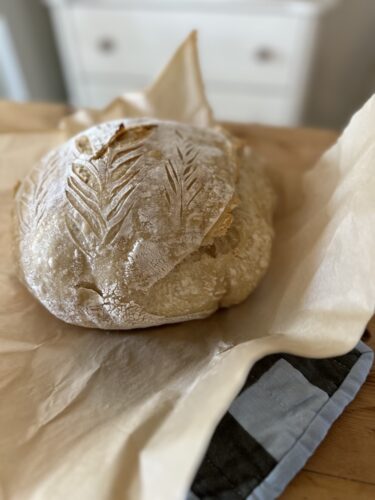
Pre-heat your oven at 500° with your dutch oven in it.
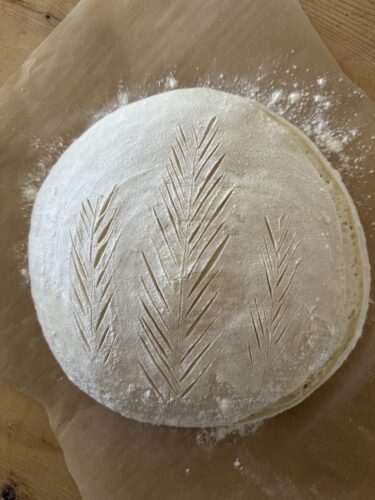
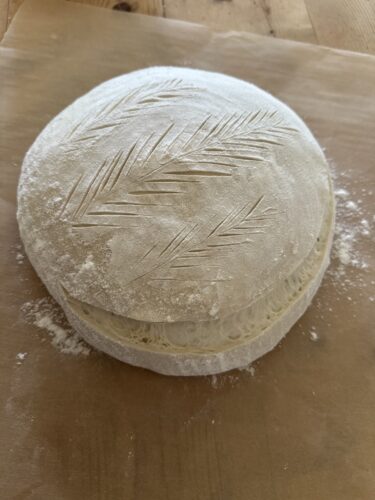
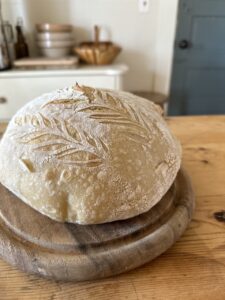
Pull out dough and flip out on parchment paper, flat side down. Score with a razor blade with one big slash to let air out, and then you can do a lightly scored design.
Once the oven is heated, reduce heat to 450° and bake your dough for 20 minutes with the lid on. Then take lid off and bake for another 17-20 minutes.
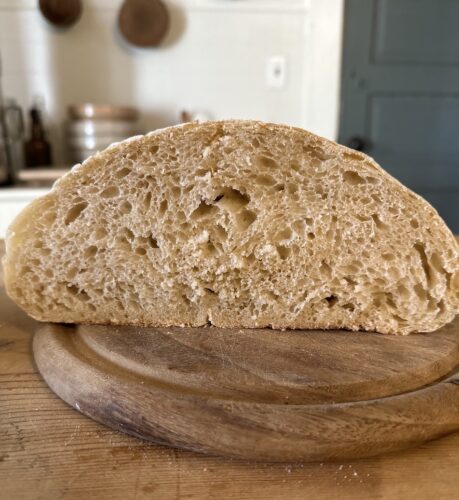
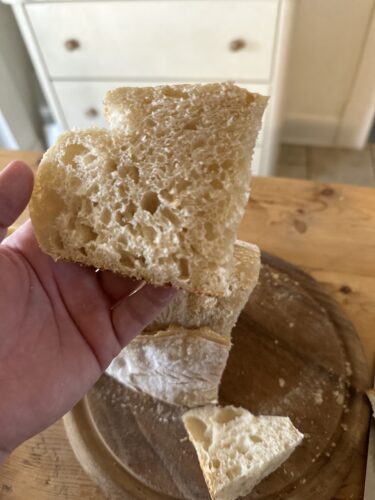
Cool and Enjoy Your Homemade Sourdough Bread
Let the bread cool on a rack for at least an hour before slicing into it to avoid gummy, doughy bread.
Sample Sourdough Bread Baking Timeline
Day 1: Feed and Strengthen your Sourdough Starter
Any time during this day.
Day 2: Evening Prep
7:00 PM – Give your sourdough starter a feed to create your levain to use the next day.
Day 3: Mixing Dough and Long Fermentation
8:00 AM – Mix your dough and let it sit for 30 minutes to autolyze.
8:30 AM – Add water and salt.
9:00 AM – First stretch and fold.
9:30 AM – Second stretch and fold.
10:00 AM – Third stretch and fold.
10:30 AM – Fourth stretch and fold.
11:00 AM – 5:00 PM – Long fermentation until dough has doubled.
5:00 PM – Shape dough and place in the refrigerator for overnight proof.
Day 4: Baking Your Sourdough Bread
8:00 AM – Preheat oven, pull dough out to score. Bake for a total of 35-40 minutes.
8:45 AM – 9:45 – Cool bread before cutting and eating.
FAQs
1. How do I know if my sourdough starter is ready?
It should be very bubbly, doubled in size, and be able to pass the “float test”. This test is where you place a spoonful of your starter in cold water to make sure it floats.
2. Can I make this without a Dutch oven?
Yes you can. Use a pot with a lid or a baking stone and an oven-safe pan with boiling water for steam placed under the stone.
3. Why is my bread dense?
There are a few possible reasons for your bread being dense. It could be a weak starter, under-fermentation, or too much flour. Try and build your starter up over the course of a few days by feeding and discarding, and then try again.
4. How do I store homemade sourdough?
Store it at room temperature in a bread bag or a plastic ziplock bag. You can also freeze your loaf after cooling. Before eating, allow it to thoroughly thaw before warming.
5. What are the best tips and tools for scoring your bread?
- I like to use a plain razor blade to score mine, but you can use a lame. I personally get better results with a razor. Don’t use a plain knife. It won’t work very well.
- If you want your design to stand out, spread a little flour out on the top of your dough before scoring. This will make the design stand out.
- Look for inspiration of designs online, like this snowflake sourdough design, and practice a lot!
Tips for the Best Sourdough Bread
- Use a kitchen scale for the most accurate measurements.
- Don’t rush fermentation. It will improve the flavor and texture of your bread.
- Score deeply for a nice oven spring. You can make a pretty design too, but make sure you have at least one deep cut.
- Use a preheated Dutch oven.
- Let the bread cool at least one hour before slicing to prevent gummy bread.
Simple Sourdough Bread Recipe
Equipment
- 1 large mixing bowl
- 1 Kitchen scale for accuracy
- 1 Healthy, strong sourdough starter.
- 1 Bench scraper
- 1 Dough whisk or wooden spoon
- 1 Banneton or a bowl with a towel
- 1 Lame or razor blade for scoring
- 1 Dutch oven or baking stone
- 1 parchment paper
- 1 Cooling rack
Ingredients
- 450 grams flour unbleached, all-purpose flour
- 325 grams filtered water
- 125 grams active sourdough starter
- 10 grams salt
Instructions
Day 1: Feed Your Sourdough Starter
- In a small clean jar, mix 50 grams filtered water, 50 grams flour, 10 grams sourdough starter. This is ensuring your sourdough is strong and ready to bake with.
Day 2: Make Your Levain
- Your sourdough starter should now be nice and bubbly. Now take another bigger, clean jar and mix 135 grams of filtered water, 135 grams of flour, and 30 grams of your sourdough starter you mixed up yesterday. Mix well and set aside. Overnight works great for this, but at least 4-6 hours to give it time to get nice and bubbly.. This big feed is called your levain. You can discard whatever is leftover from yesterday.
Day 3: Mix Your Sourdough, Stretch and Fold, and Shape
- Step 1: Your levain you created yesterday should be ready to use. It should be nice and bubbly. Once it’s reached full potential and starting decrease is the best. It should float in cold water.
- Step 3: Now add 10 grams of salt and 25 grams of filtered water to your dough. I like to premix these in a small bowl and then add to make sure it gets well incorporates. Pinch into your dough, as shown in the photo below, until it is all mixed in.
- Step 4: Mix well with your hands, and then you will start doing a series of stretch and folds every 30 minutes for a total of 4 times. This will take 2 hours total.
- Step 5: After you have completed 4 rounds of stretch and folds, let your dough sit in a warm spot and long ferment until doubled. This will usually take 4-6 hours, but will depend on the temperature of your home.
- Step 6: After your dough has doubled, empty out the dough onto a lightly floured surface. Shape it into a round loaf using the counter to build tension as you shape. You will then place your dough upside down in a round bowl or banneton. Tie a small plastic bag over your bowl to hold in moisture. Place in the refrigerator overnight.
Day 4: Baking Your Sourdough Loaf
- Pre-heat your oven at 500° with your dutch oven in it.Pull out dough and flip out on parchment paper, flat side down. Score with a razor blade, doing one big slash to let air out, and then you can do a lightly scored design.
- Once the oven is heated, reduce heat to 450° and bake your dough for 20 minutes with the lid on. And then take lid off and bake for another 17-20 minutes.Cool and Enjoy Your Homemade Sourdough Bread
This post contains affiliate links, which means I make a small commission at no extra cost to you. Please read our disclosure policy.
pin it for later…
More Posts To Enjoy:
- The Wonder & Tower Homemaker’s Library: 30+ Free Printables
- 20 Easy Ideas to Save You Money on a Tight Budget
- 20 Creative Journaling Ideas (Bible Journaling for Women)
- 55 Bible Journaling Prompts for Christian Women
- Nature Journaling Examples to Inspire Nature Study