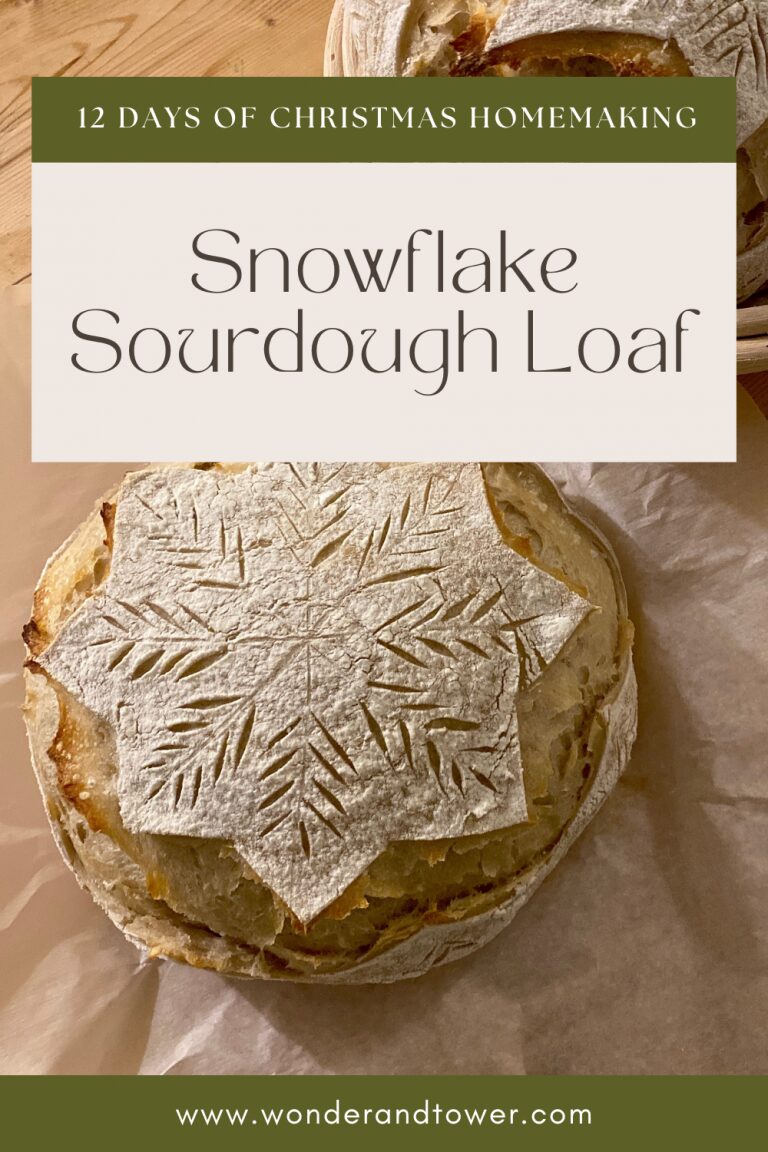
Snowflake Sourdough Bread Design + Scoring Tips
If you’re new to sourdough or already experimenting with sourdough bread recipes, this is snowflake sourdough bread design is perfect for you!
There’s something magical about pulling a beautiful loaf of sourdough out of the oven, especially when it’s dressed up for the season.
A snowflake pattern looks intricate, but it’s surprisingly doable once you understand the basics of scoring. This guide will walk you through shaping, scoring, and baking a loaf that looks festive and still bakes up with the best results.
If you like this snowflake loaf, you’ll love trying a few of my other sourdough favorites too, especially my sourdough discard recipes, my fluffy sourdough blueberry muffins, and my simple sourdough bread recipe that beginners always succeed with.
Why Scoring Matters
Scoring is more than decoration. It gives your loaf direction during baking so the steam can escape without cracking the crust in unpredictable ways.
When you create expansion scores, you’re giving the dough a clear place to open while preserving your artwork on top! Besides the flavor, this may be my favorite part if baking sourdough!
For a snowflake design, the trick is combining strategic, deeper slash with lighter, decorative lines that sit on the surface.
Tools You’ll Need
To get clean, crisp lines, use a very sharp razor blade. A lame is great, but even a simple razor works if you angle it slightly and move with confidence. I started with a basic sourdough kit like this and it includes a bread lame.
You’ll also want your dough thoroughly chilled, since cold dough holds detail better and prevents dragging as you work.
I like to have flour to sprinkle on the top of my dough to really make the ding stand out. And dental floss or bakers twine to help with design template.
Related Post: Sourdough Score Design: Tips to Scoring Beautiful Bread

This post contains affiliate links, which means I make a small commission at no extra cost to you. Please read our disclosure policy.
Preparing Your Dough
Once your sourdough has finished its cold overnight proof, gently turn it out onto a piece of parchment. Brush off any excess flour so your scoring lines stand out. At this stage, the dough will feel firm and workable, which makes it perfect for detailed shaping.
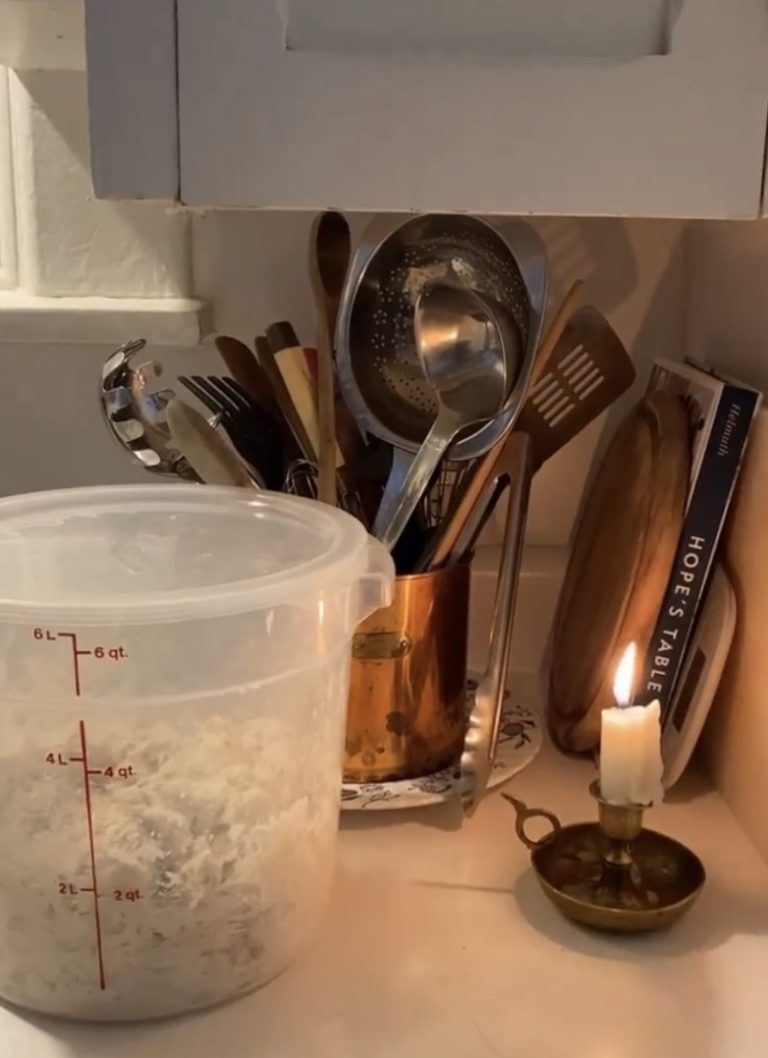
Give your loaf a moment to relax on the counter while your oven heats with the Dutch oven inside. This short rest helps prevent your dough from springing back as you score.

How to Make a Snowflake Sourdough Bread Design (Step-by-Step)
1. Dust the Loaf With Flour
Lightly sprinkle flour over the top of your fully proofed, cold sourdough loaf. Use your hand or a fine-mesh sifter to evenly coat the surface. This creates contrast so the snowflake pattern really stands out after baking.
2. Create the Snowflake Template With Floss
Take a clean piece of dental floss (or thin kitchen string) and gently press it into the floured surface of the dough to trace your snowflake shape.
- First press one vertical line.
- Then add two diagonal lines to form a six-point snowflake.
- The floss shouldn’t cut the dough; it just leaves a faint guide you can follow when scoring.
This guide helps you keep the design centered and symmetrical.
3. Make the Main Expansion Cut
Using a sharp razor blade, make one continuous, deeper cut along the lower edge of your snowflake template.
- This is your primary expansion score, which gives the loaf a controlled place to open.
- Without this cut, the decorative lines may tear or distort.
Keep this cut clean and slightly curved if you prefer more movement in the final loaf.
4. Score the Main Snowflake Arms
Now, follow the floss lines you pressed earlier:
- Use light pressure to create shallow cuts along each of the six arms.
- Start at the center and pull outward in one smooth motion.
- These are not meant to open dramatically; they create the crisp snowflake outline.
If your blade sticks, wipe it clean between cuts.
5. Add Delicate Branches and Details
To make the snowflake look intricate and dimensional:
- Add small angled dashes extending off each arm (like little branches).
- Keep these cuts very light.
- Add tiny decorative slashes between the arms if you want a more detailed starburst outline.
This is where the loaf transforms from simple scoring to a beautiful winter design.
6. Double-Check Your Lines
Before baking:
- Make sure your deeper cut is long enough to carry the expansion.
- Ensure all decorative lines are shallow and even.
- If any flour clumps after scoring, gently brush it away.
Clean lines and cuts will equal a clean design!
7. Bake as Usual
Carefully lift the loaf into your preheated Dutch oven.
Bake covered for the first 20 minutes to encourage oven spring, then uncover to brown and crisp the pattern.
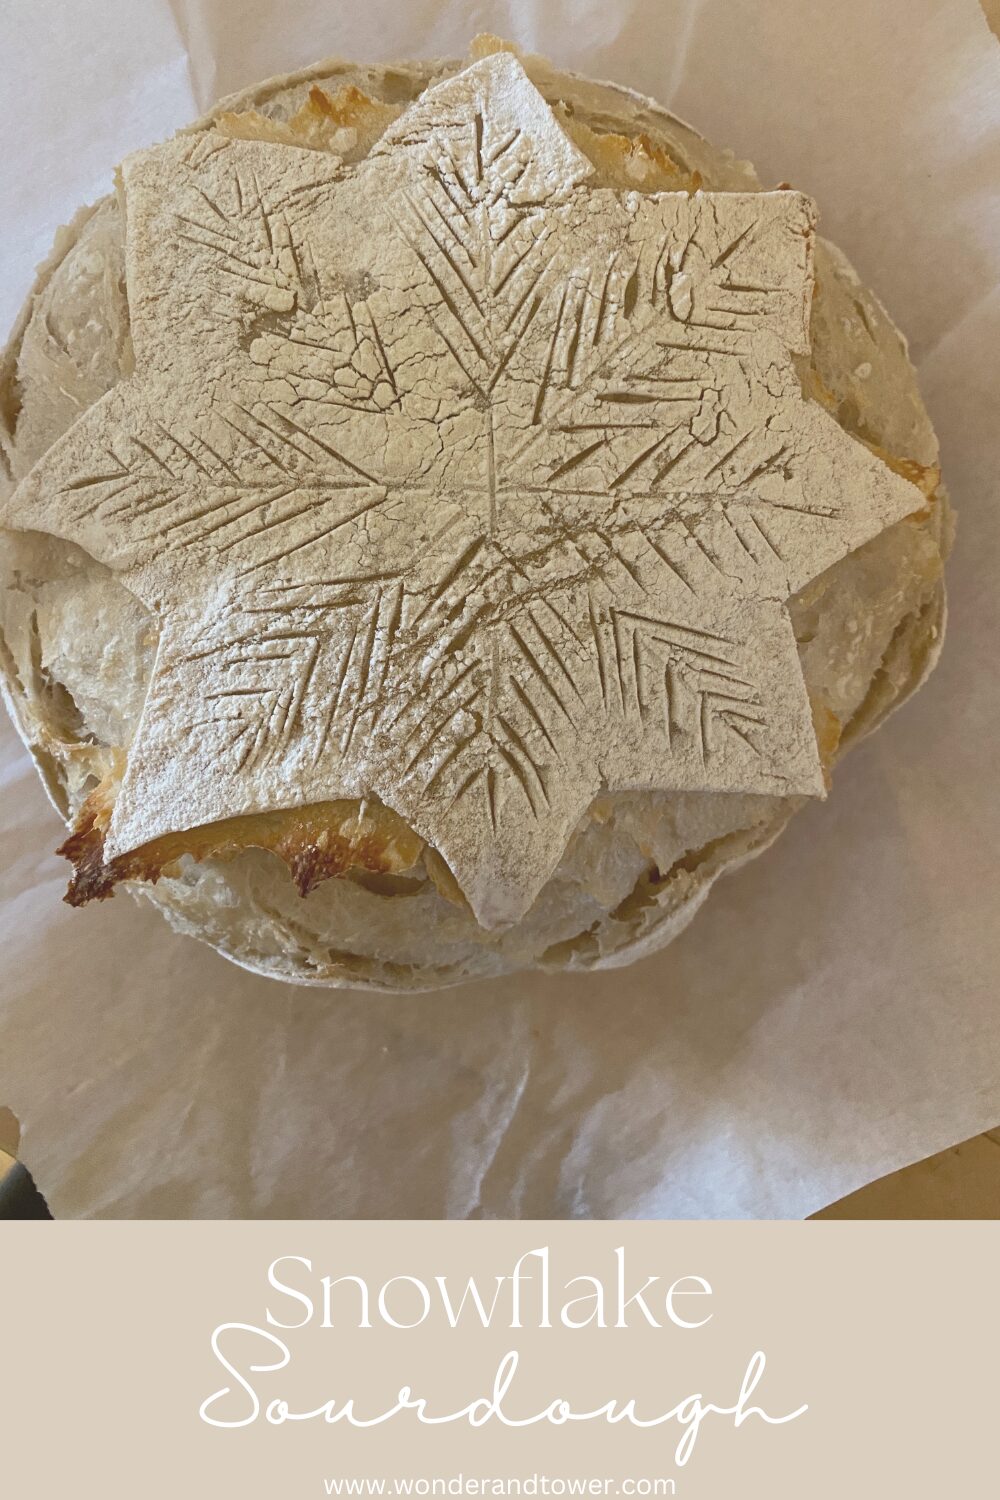
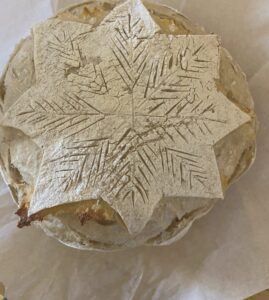
When it emerges, the deeper cut will open up naturally, while the snowflake design stays crisp and elegant on the floured surface.
Tips for Clean, Beautiful Lines
Cold dough truly makes all the difference. If your dough starts warming up, pop it back in the fridge for 10 minutes before continuing.
Keep your blade dry between cuts, and try not to hesitate mid-line. Short, gentle motions help you maintain control without going too deep. And remember that even small imperfections disappear into the final baked texture, so embrace the natural look.
Baking Your Snowflake Loaf
When your design is finished, carefully lift the parchment and set your dough into the preheated Dutch oven. Bake covered for the first stretch to trap steam and boost oven spring. After uncovering, your snowflake lines will start turning golden and crisp.
As the loaf finishes, you’ll see exactly why decorative scoring is such a joy. The contrast between the bold expansion line and the delicate snowflake pattern makes your loaf feel handcrafted and special.

More 12 Days of Christmas Homemaking Posts:
Thrifted & Upcycled Christmas Villages
Enjoy Your Snowflake Sourdough Loaf
A snowflake sourdough loaf is a beautiful way to celebrate winter baking traditions. It’s approachable, impressive, and adds a touch of seasonal charm to your kitchen. Once you try it, you’ll probably want to experiment with other shapes and patterns. And the more you score, the more confident your hand becomes.
Enjoy the process, enjoy the aroma, and enjoy creating something that feels both homemade and artful.
Snowflake Sourdough Bread Design
Equipment
- Bread lame or very sharp razor blade
- Flour
- Dental Floss
Instructions
- Dust the Loaf With FlourLightly sprinkle flour over the top of your fully proofed, cold sourdough loaf. Use your hand or a fine-mesh sifter to evenly coat the surface. This creates contrast so the snowflake pattern really stands out after baking.
- Create the Snowflake Template With FlossTake a clean piece of dental floss (or thin kitchen string) and gently press it into the floured surface of the dough to trace your snowflake shape.This guide helps you keep the design centered and symmetrical.First press one vertical line.Then add two diagonal lines to form a six-point snowflake.The floss shouldn’t cut the dough; it just leaves a faint guide you can follow when scoring.
- Make the Main Expansion CutUsing a sharp razor blade, make one continuous, deeper cut along the lower edge of your snowflake template.This is your primary expansion score, which gives the loaf a controlled place to open.Without this cut, the decorative lines may tear or distort.Keep this cut clean and slightly curved if you prefer more movement in the final loaf.
- Score the Main Snowflake ArmsNow, follow the floss lines you pressed earlier:If your blade sticks, wipe it clean between cuts.Use light pressure to create shallow cuts along each of the six arms.Start at the center and pull outward in one smooth motion.These are not meant to open dramatically; they create the crisp snowflake outline.
- Score the Main Snowflake ArmsNow, follow the floss lines you pressed earlier:If your blade sticks, wipe it clean between cuts.Use light pressure to create shallow cuts along each of the six arms.Start at the center and pull outward in one smooth motion.These are not meant to open dramatically; they create the crisp snowflake outline.
- 5. Add Delicate Branches and DetailsTo make the snowflake look intricate and dimensional:This is where the loaf transforms from simple scoring to a beautiful winter design.Add small angled dashes extending off each arm (like little branches).Keep these cuts very light.Add tiny decorative slashes between the arms if you want a more detailed starburst outline.
- Add Delicate Branches and DetailsTo make the snowflake look intricate and dimensional:This is where the loaf transforms from simple scoring to a beautiful winter design.Add small angled dashes extending off each arm (like little branches).Keep these cuts very light.Add tiny decorative slashes between the arms if you want a more detailed starburst effect.e outline.Double check your cuts are clean and even.
- Bake as UsualCarefully lift the loaf into your preheated Dutch oven.Bake covered for the first 20 minutes to encourage oven spring, then uncover to brown and crisp the pattern.When it emerges, the deeper cut will open up naturally, while the snowflake design stays crisp and elegant on the floured surface.
Video
Pin it for Later…