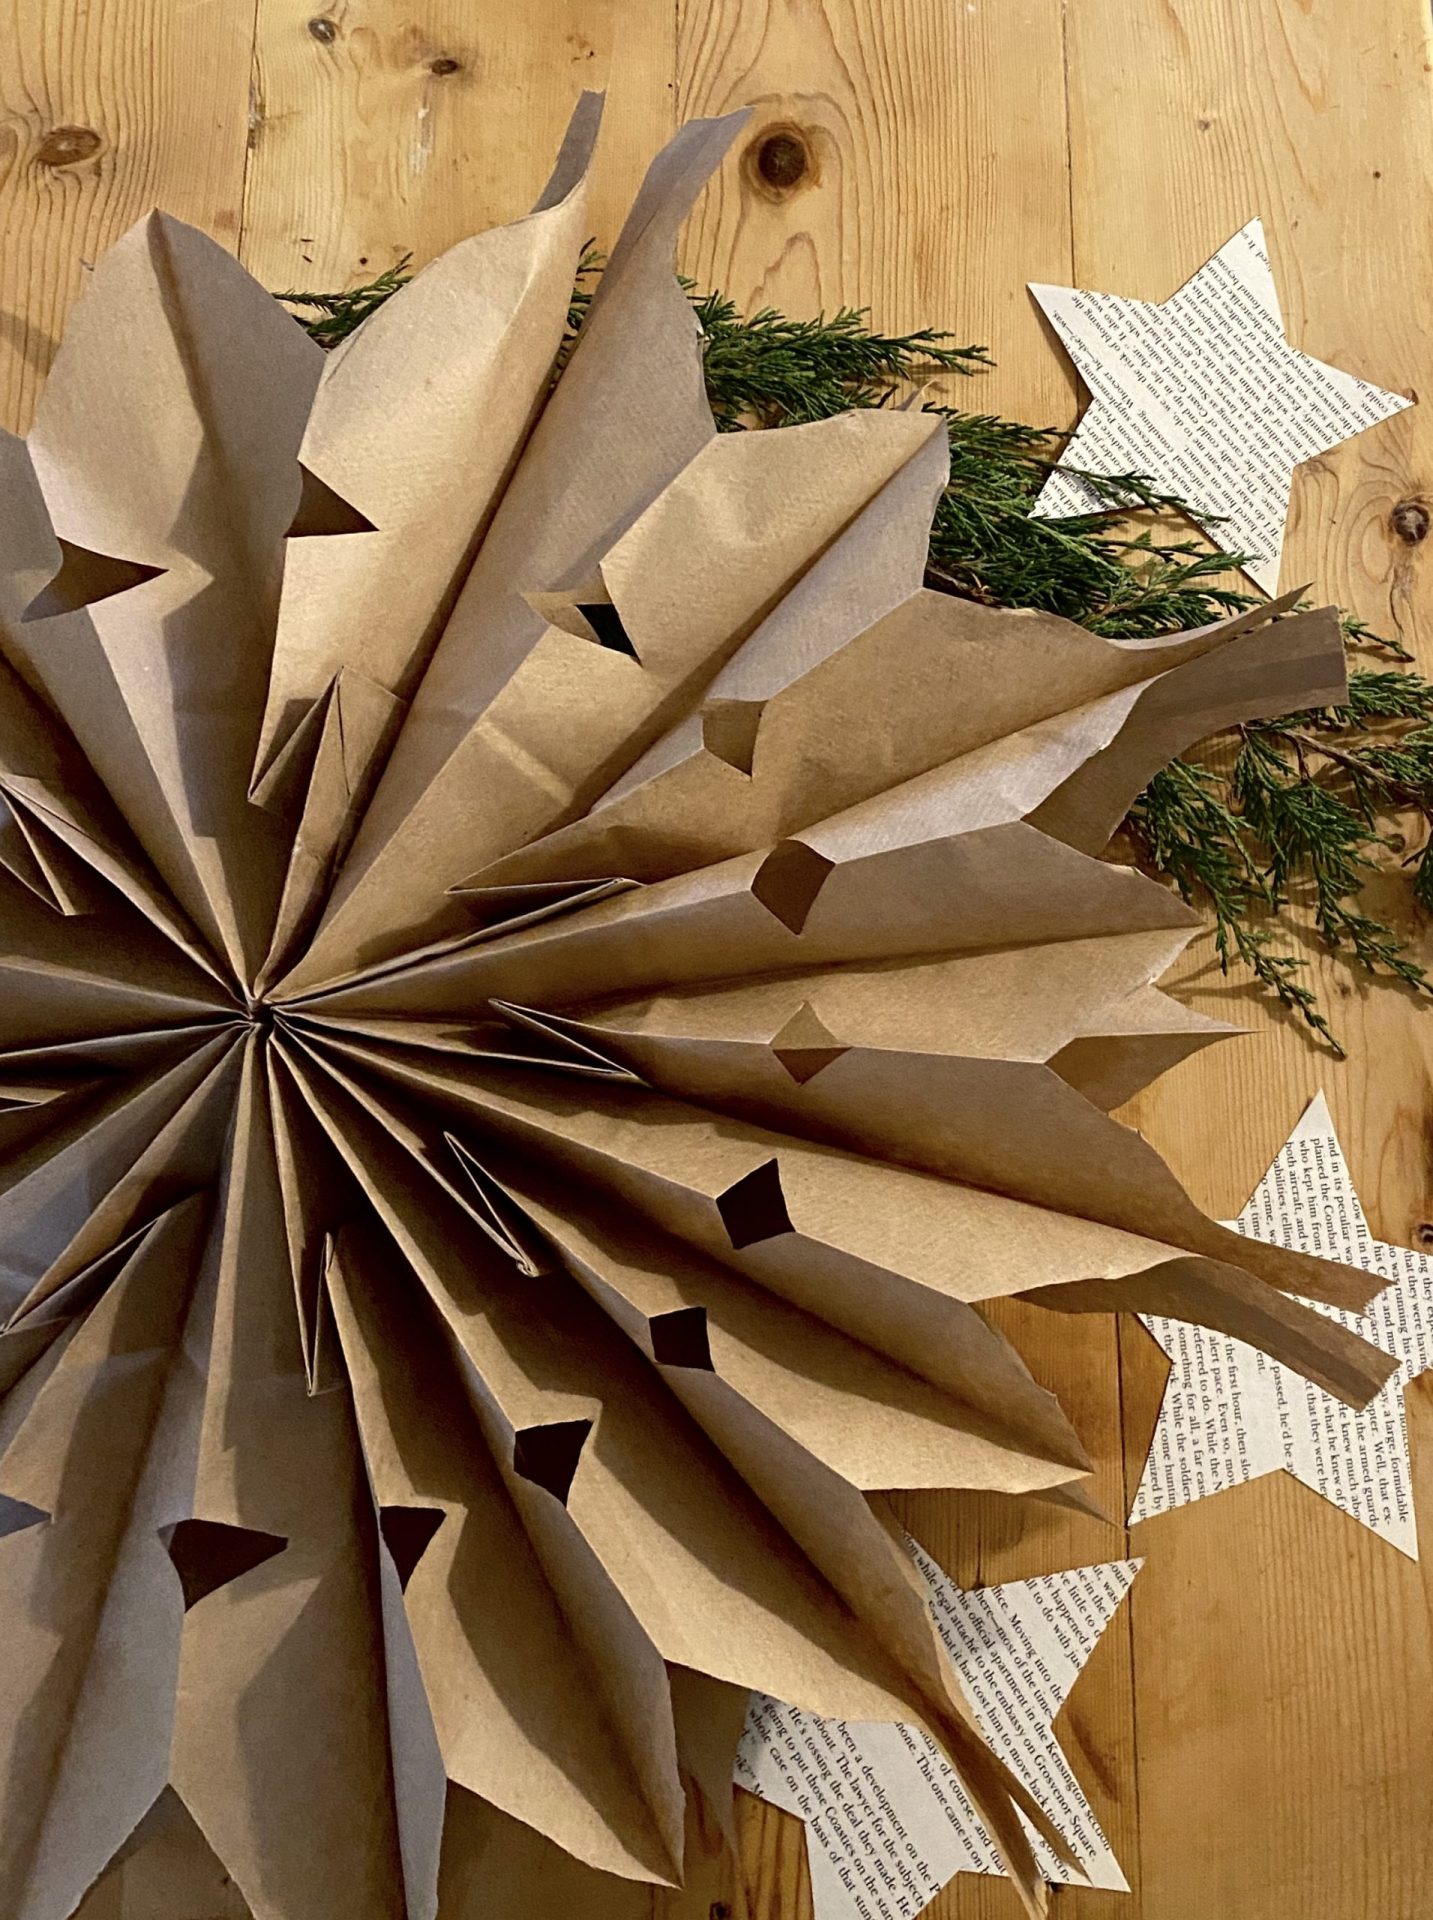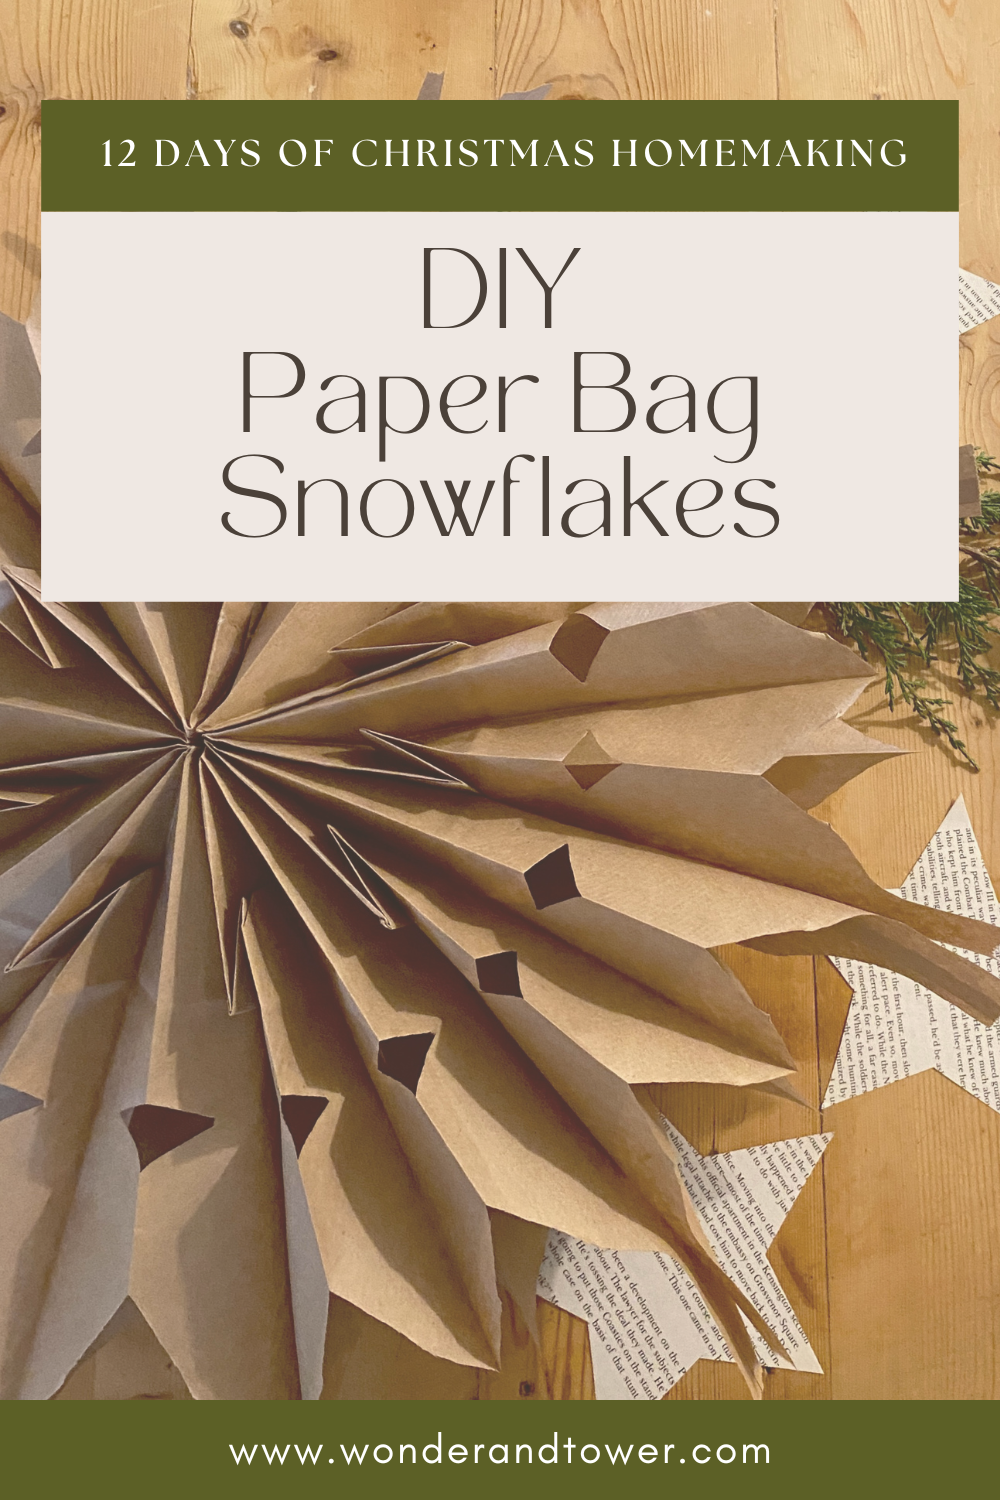
DIY Paper Bag Snowflakes
I am really loving this 12 Days of Christmas Homemaking series! It has been so fun to share ideas and creativity to fill your homes this Christmas! Today I wanted to share instructions to make these really simple, but beautiful, DIY paper bag snowflakes for Christmas and wintertime!

Supplies You Will Need:
- Seven paper bags. I like to make these in the Kraft brown and also in white.
- Scissors
- Hot Glue, or you can also use regular paste, but I think hot glue is faster and works better.
- Twine or wire to hang.
How to Make a DIY Paper Bag Snowflake
- Plug hot glue in, and grab seven paper bags & some scissors while it warms up. (7 paper bags makes one snowflake)
- Once the hot glue is ready, you are going to glue all seven paper bags on top of each other with the top of the bag at the top, making an upside-down uppercase T shape on the bags with hot glue. (as shown in video). You will want all the bags to be facing the same was as you go.
- Once all seven are glue together, you are going to take some sharp scissors, and cut the top of the bags into a point or a curved shape, whichever you prefer. You can also cut small triangles on each side to give it a unique design.
- Then you will slowly open the two bags on each end and place them together, causing the bags to fully open into a circle, or a snowflake! Hot glue or tape the ends together to keep your paper bag snowflake open. If you want to save for years to come, tape is a better option for this last part.
- Place some twine or wire at the top to hang it or tie to wherever you would like.
- Voila! Now you have your very own DIY Paper Bag Snowflake! You can also take down after winter and save for next year. Just take the last two you glued together apart.
Pin it for Later…