Sourdough Starter Recipe: A Step-by-Step Daily Guide
Sourdough bread is magical! It’s not only good for your gut because the flour has been fermented, but it’s also easier to digest, and it’s delicious! If you’ve ever been curious about sourdough but felt intimidated, starting your own sourdough starter is one hundred percent simpler than you think. With a little patience and flour, let’s make you your very own sourdough starter using my Sourdough Starter Recipe: A Step-by-Step Daily Guide.

What is a Sourdough Starter?
A sourdough starter is a fermented mixture of flour and water that uses wild yeast and bacteria from the environment. This means it uses wild yeast instead of store-bought yeast to make the bread rise. Natural leavening! This natural leavening agent for sourdough bread gives it its characteristic flavor and texture that makes sourdough bread so unique. Unlike commercial yeast, sourdough starters are alive and need a little care to thrive. This is not hard AT ALL, and you can do it!
What You’ll Need for Sourdough Starter Recipe
- Flour: Unbleached all-purpose or whole wheat flour
- Water: Filtered water
- Glass jar or container: A wide mouth jar works best. I love these Weck jars.
- Scale or measuring cups: Accuracy is key, so a digital kitchen scale is recommended. You can start your stater without one by using measuring cups, but you will need one once you start baking bread.
- Spoon or spatula: I like to use a small spatula or small, wooden spoon. Long handled works best. Avoid using metal spoons.
This post contains affiliate links, which means I make a small commission at no extra cost to you. Please read our disclosure policy.
Step-by-Step Daily Instructions this Sourdough Starter Recipe
Day 1: Mix the Ingredients
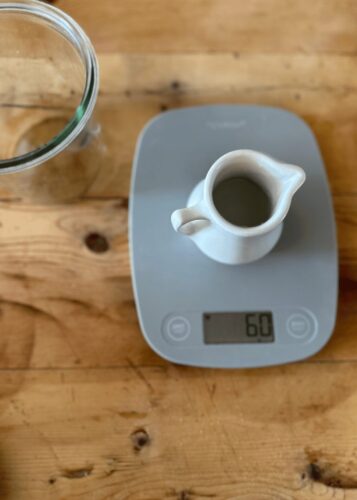
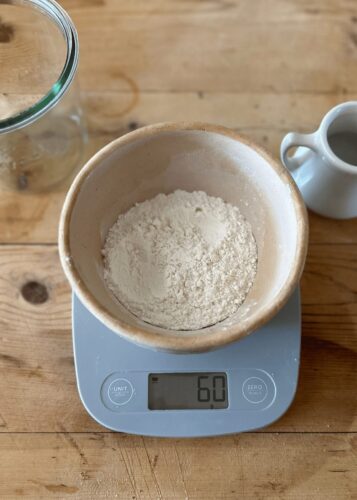
- Combine 60 grams (about ¼ cup) of flour and 60 grams (about ¼ cup) of water in your jar. Give it a stir until there isn’t any more dried flour.
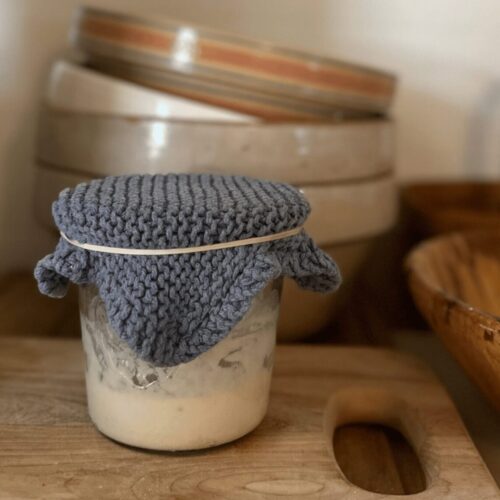
- Next, cover the jar loosely with a lid or something like cheesecloth (only if you have it, don’t go buy this). This allows for airflow but also keeps out dust.
- Place the jar in a warm spot and leave it alone for 24 hours. Patience is key!
Day 2: Check and Feed
- On day two, you are going to discard (fancy word for throw away) half of what you mixed up yesterday. You want to do this because you want the wild yeast that is growing to get fed with the right amount of flour and water. This aids in making a strong sourdough starter! You will probably not see any difference in the starter from where you left it yesterday. That’s normal!
- Next, you are going to do exactly what you did yesterday. But now it’s called “feeding your starter”. So, feed the remaining starter 60 grams ( about ¼ cup) of flour and 60 grams (about ¼ cup) of water in your jar. Give it a stir until there isn’t any more dry flour.
- Place the jar in a warm spot and leave it alone for 24 hours.
Hey friends, please don’t forget to follow me over on Instagram! I post more photos and ideas over there. If you enjoyed this recipe, I would really appreciate it if you would review it so others can find it and cook it as well. Sharing this recipe on Facebook or Pinterest is another great way you can help me out at not cost to you.

Days 3-5: Feed Your Sourdough Starter Daily
- You will continue doing what you did on Day 2 every day for the next three days. A rhythm of discarding and feeding, and then letting it sit and letting the magic happen!
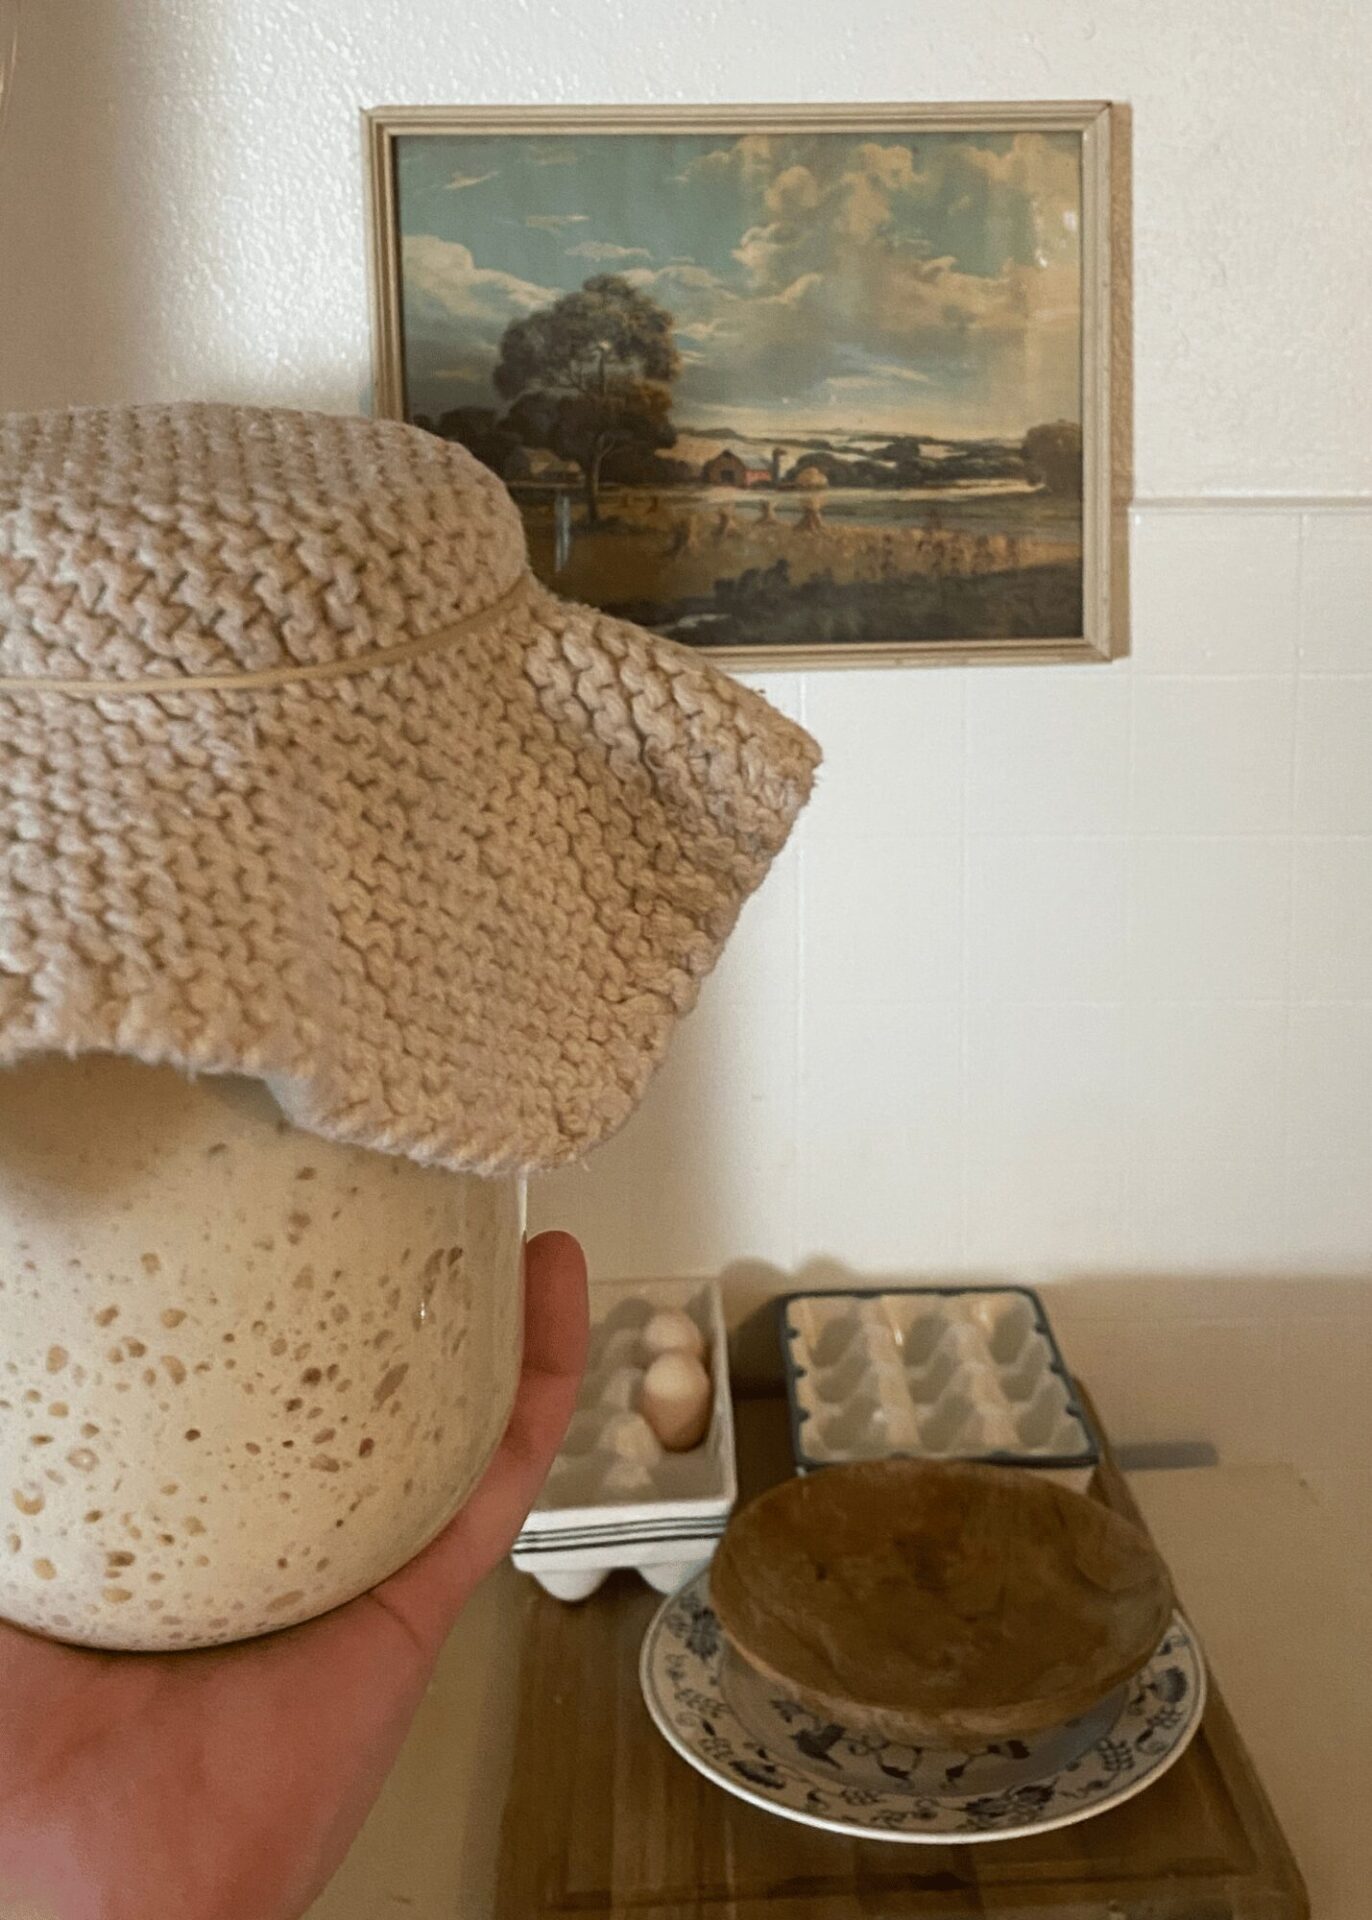
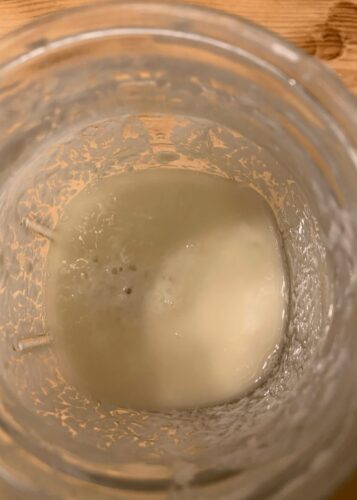
- Bubbles should start forming, and you may notice a tangy smell developing. It may seem yellow or look gross, but trust me, it’s part of the process!
Day 6-7: Up the Feedings for Your Hungry Sourdough Starter!
- You should have some bubbles forming, so now we are going to strengthen that beneficial bacteria that is making the wild yeast by feeding it every 12 hours instead of every 24 hours. Discard and feed the same amounts, 60 grams ( about ¼ cup) of flour and 60 grams (about ¼ cup) of water. Go ahead and set alarms on your phone for this to simplify so you don’t forget.
- By day 7, your sourdough starter is strong enough that you can start to make some sourdough discard recipes if you would like, instead of throwing it away. Your choice!
Troubleshooting Common Issues
- No Bubbles: Check to make sure your flour is fresh and your water isn’t chlorinated.
- Bad Smell: A healthy starter should smell tangy, not rotten. Discard and start over if it smells off.
- Mold: If you see any mold, toss the starter and begin again.
Day 8 and Beyond: Enjoy Your Little Baby Sourdough Starter!
- By day 8, your sourdough starter should be nice and bubbly. You did it! You were patient and made it, and now you are a proud mama or papa to a little baby sourdough starter!
- You can start making bread or any other sourdough recipes! Great job!
Using and Storing Your Sourdough Starter
- Once your starter is active and bubbly, it’s ready to use! If you’re not baking daily, you can store your starter in the refrigerator and feed it once a week to keep it healthy.
- Pour off any black liquid that may form. This is called “hooch”, and it’s just your starter’s way of saying “I’m hungry!”
- I like to give it a fresh jar and a 60g flour, 60g water feed to give it a boost. Leave it out to warm up if you plan on baking with it.
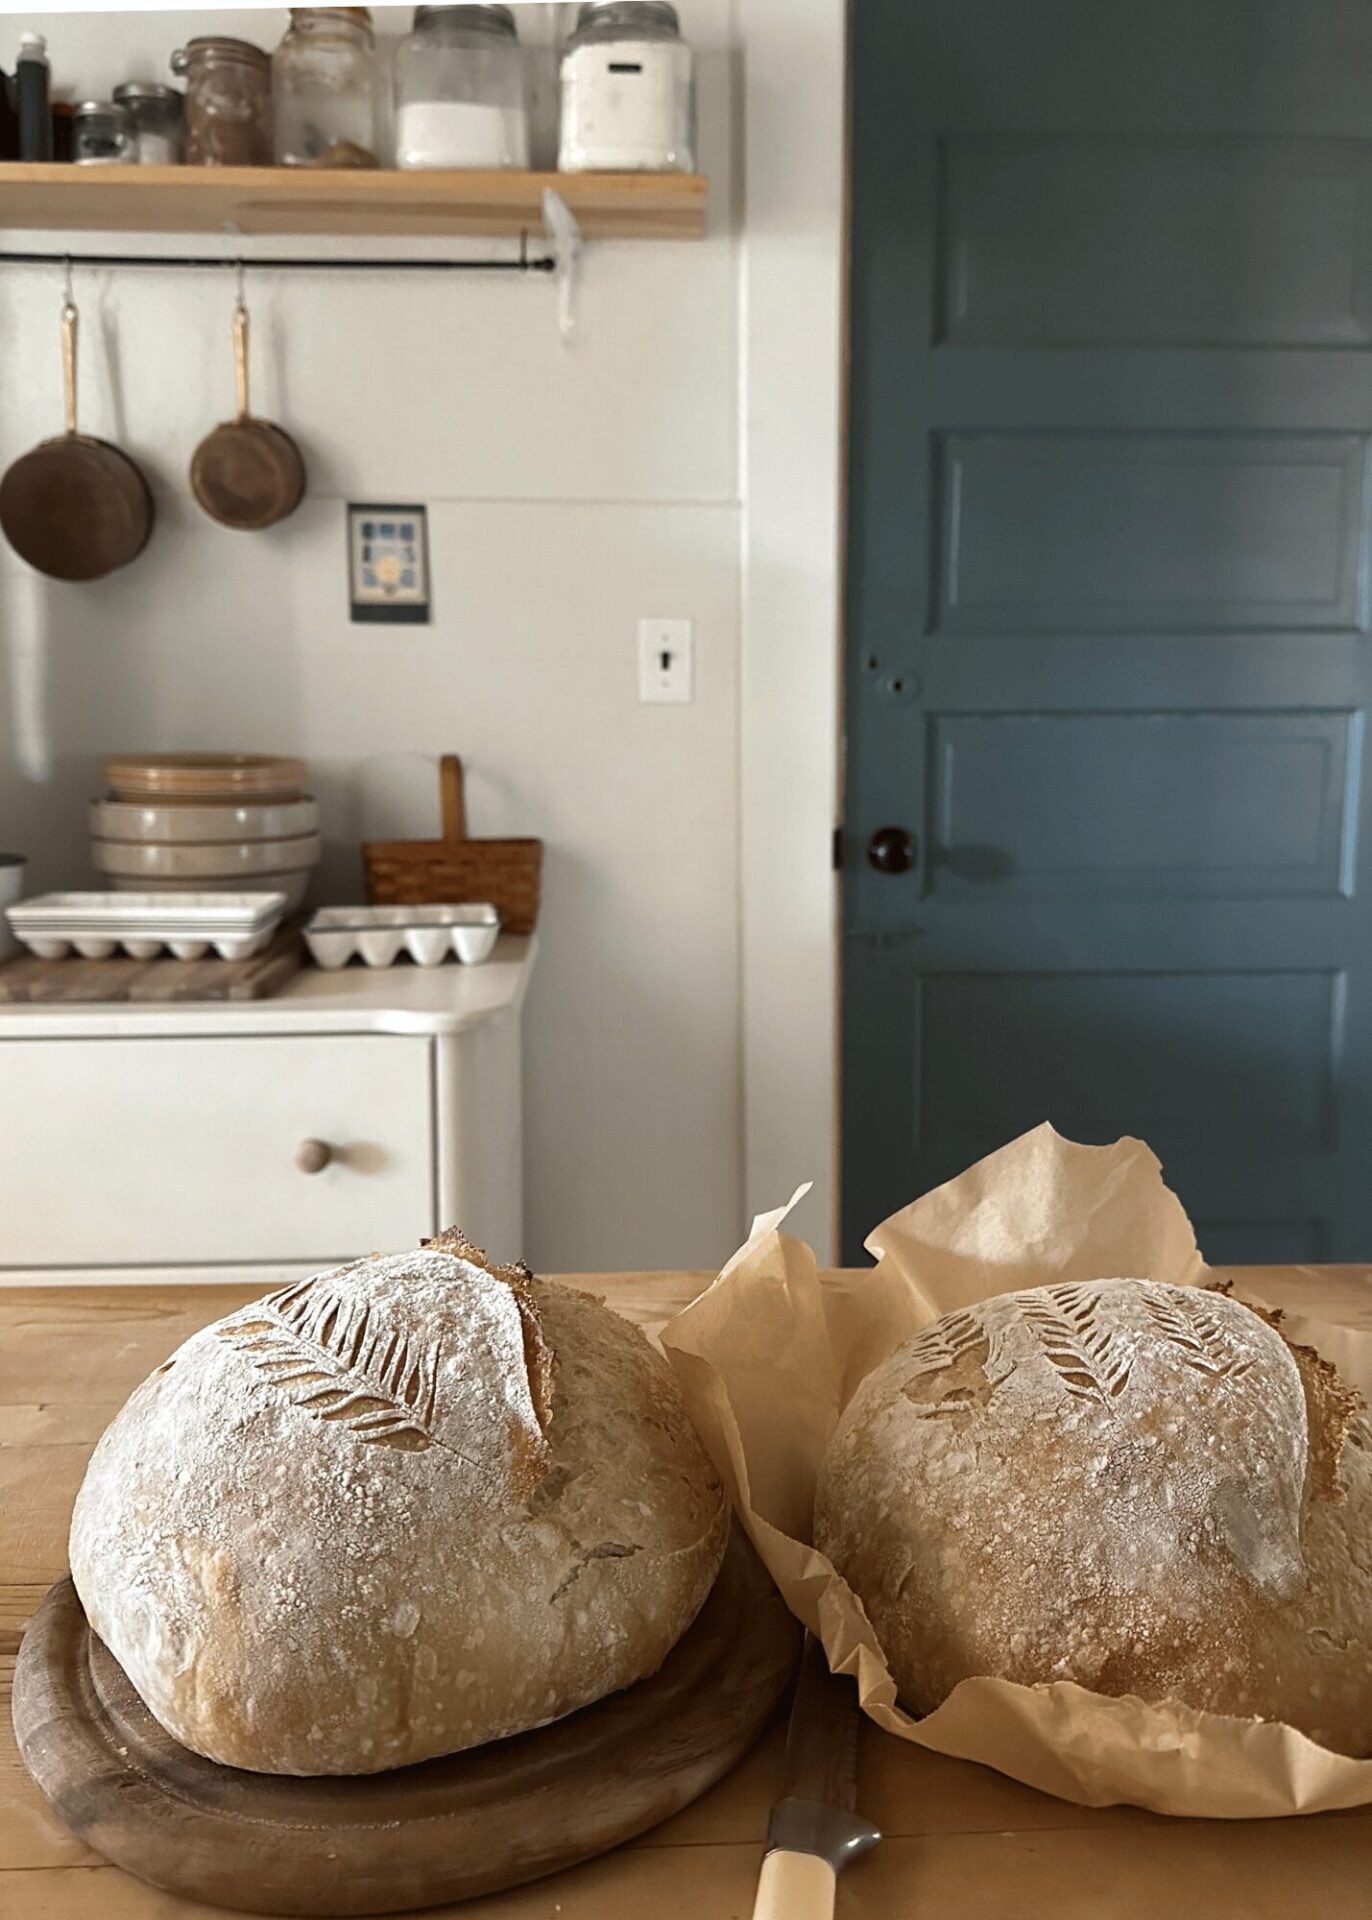
Sourdough Starter Recipe
Ingredients
- All-purpose flour
- Filtered Water
Instructions
- Combine 60 grams (about ¼ cup) of flour and 60 grams (about ¼ cup) of water in your jar. Give it a stir until there isn’t any more dried flour.Next, cover the jar loosely with a lid or something like cheesecloth. This allows for airflow but also keeps out dust. Place the jar in a warm spot and leave it alone for 24 hours.
- On day two, discard half of what you mixed up yesterday. Then feed the remaining starter 60 grams ( about ¼ cup) of flour and 60 grams (about ¼ cup) of water in your jar. Stir until there isn’t any more dry flour. Place the jar in a warm spot and leave it alone for 24 hours.
- Repeat for days 3, 4 and 5.
- On days 6 and 7, you will repeat the process of discarding and feeding, but start feeding your growing sourdough starter every 12 hours instead of 24 hours. Make sure your jar is staying Ian a warm spot.
- By day 8, your sourdough starter should be nice and bubbly. You can test to see if it is ready to bake with by placing a spoonful in cold water. It is ready to go if it floats.
Notes
- Store in the refrigerator in between uses.
- When ready to use, warm up int the counter and give it a small feed to get it nice and active again.
- Sourdough Starter is very hard to actually kill. Unless it is moldy, it should activate again by warming and feeding.
pin it for later…

More Posts To Enjoy:
How to Make a Snowflake Sourdough Bread

