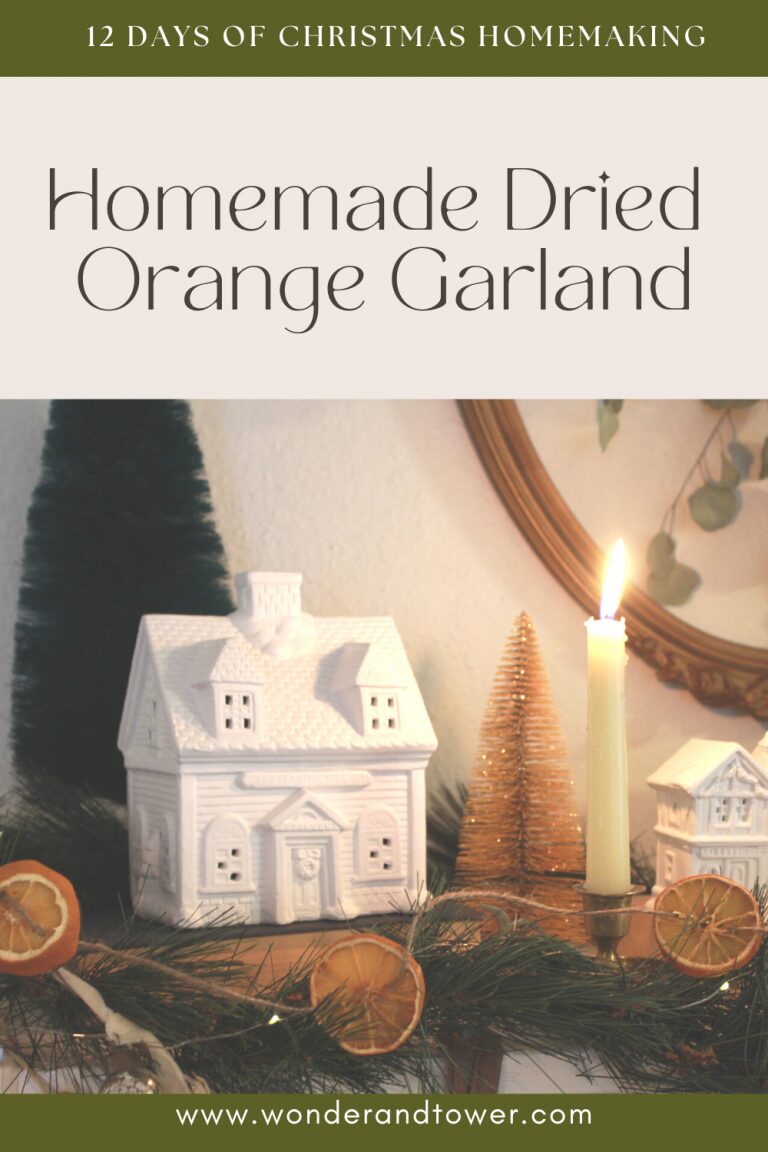
How to Make a Homemade Dried Orange Garland (Oven Dried)
I am all about a homemade Christmas! Charming, simple, and old-fashioned, and this homemade dried orange garland is one of my favorite ways to decorate. These citrus garlands are cozy, budget-friendly, and add such a beautiful addition of natural elements to your home during the Christmas season.
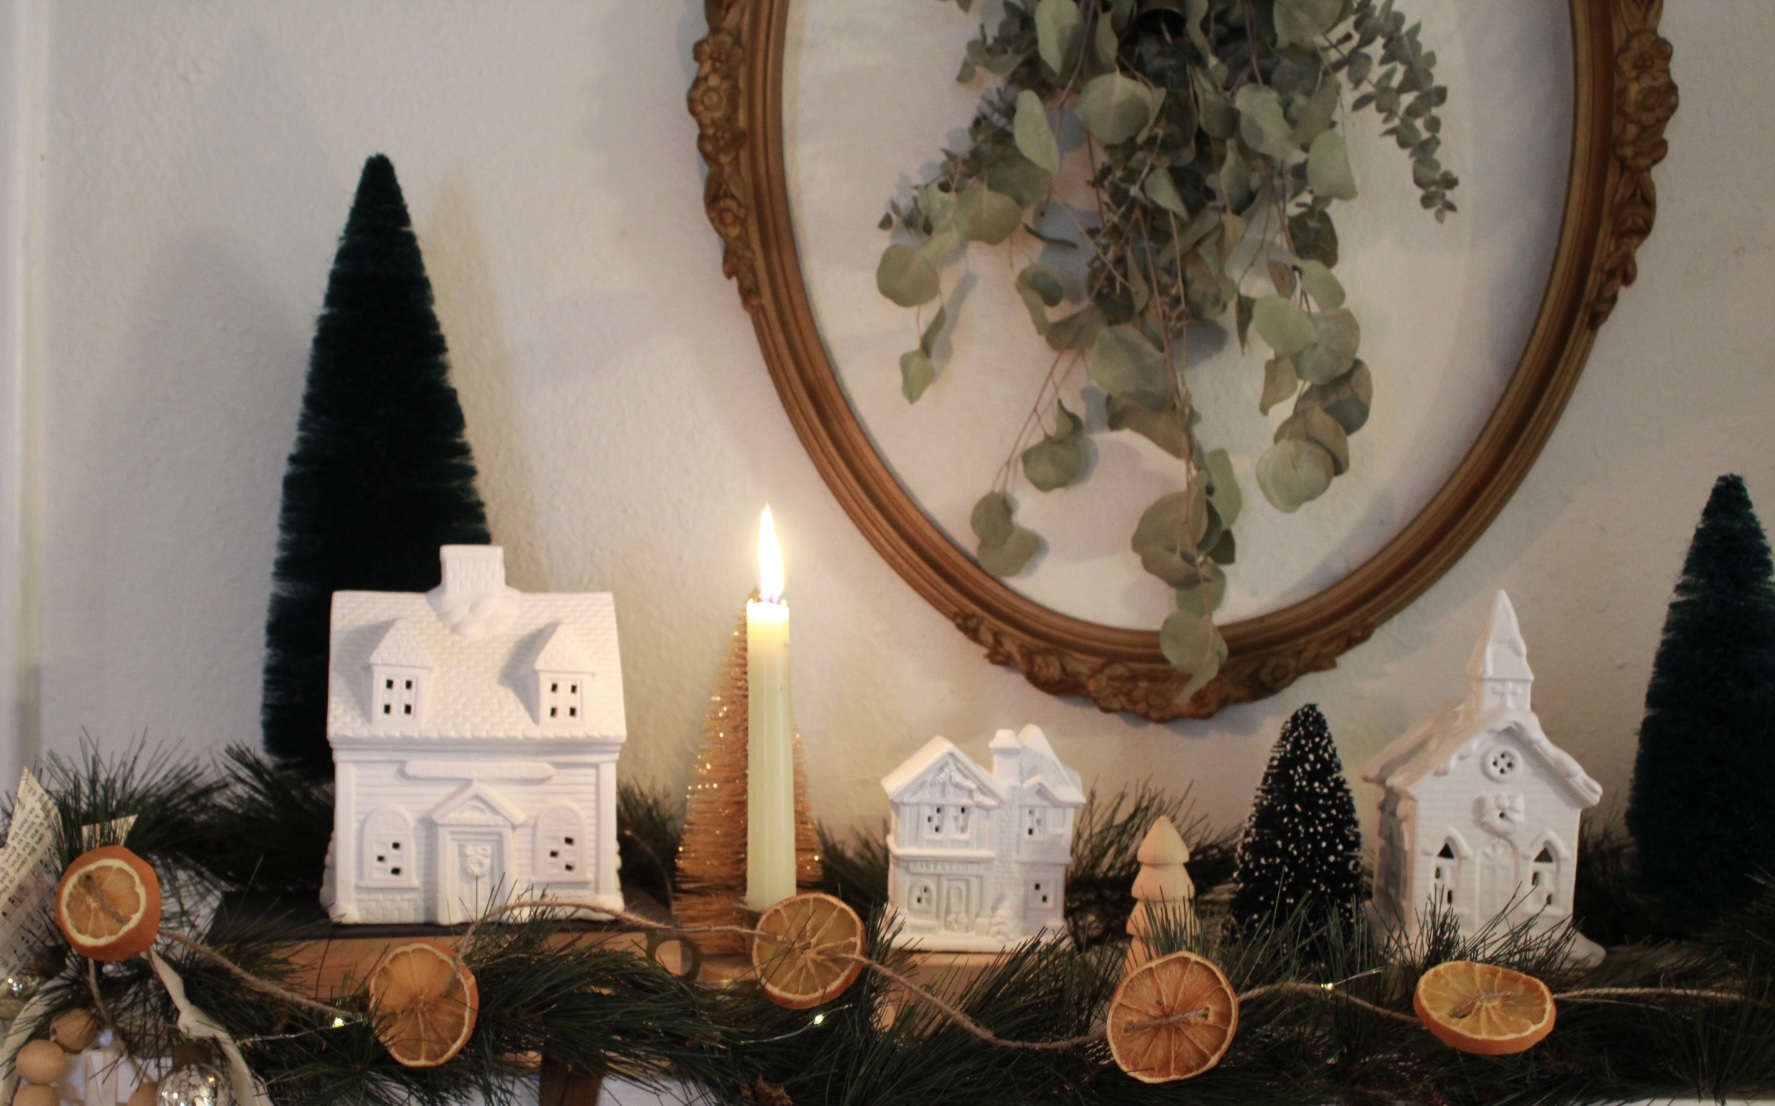
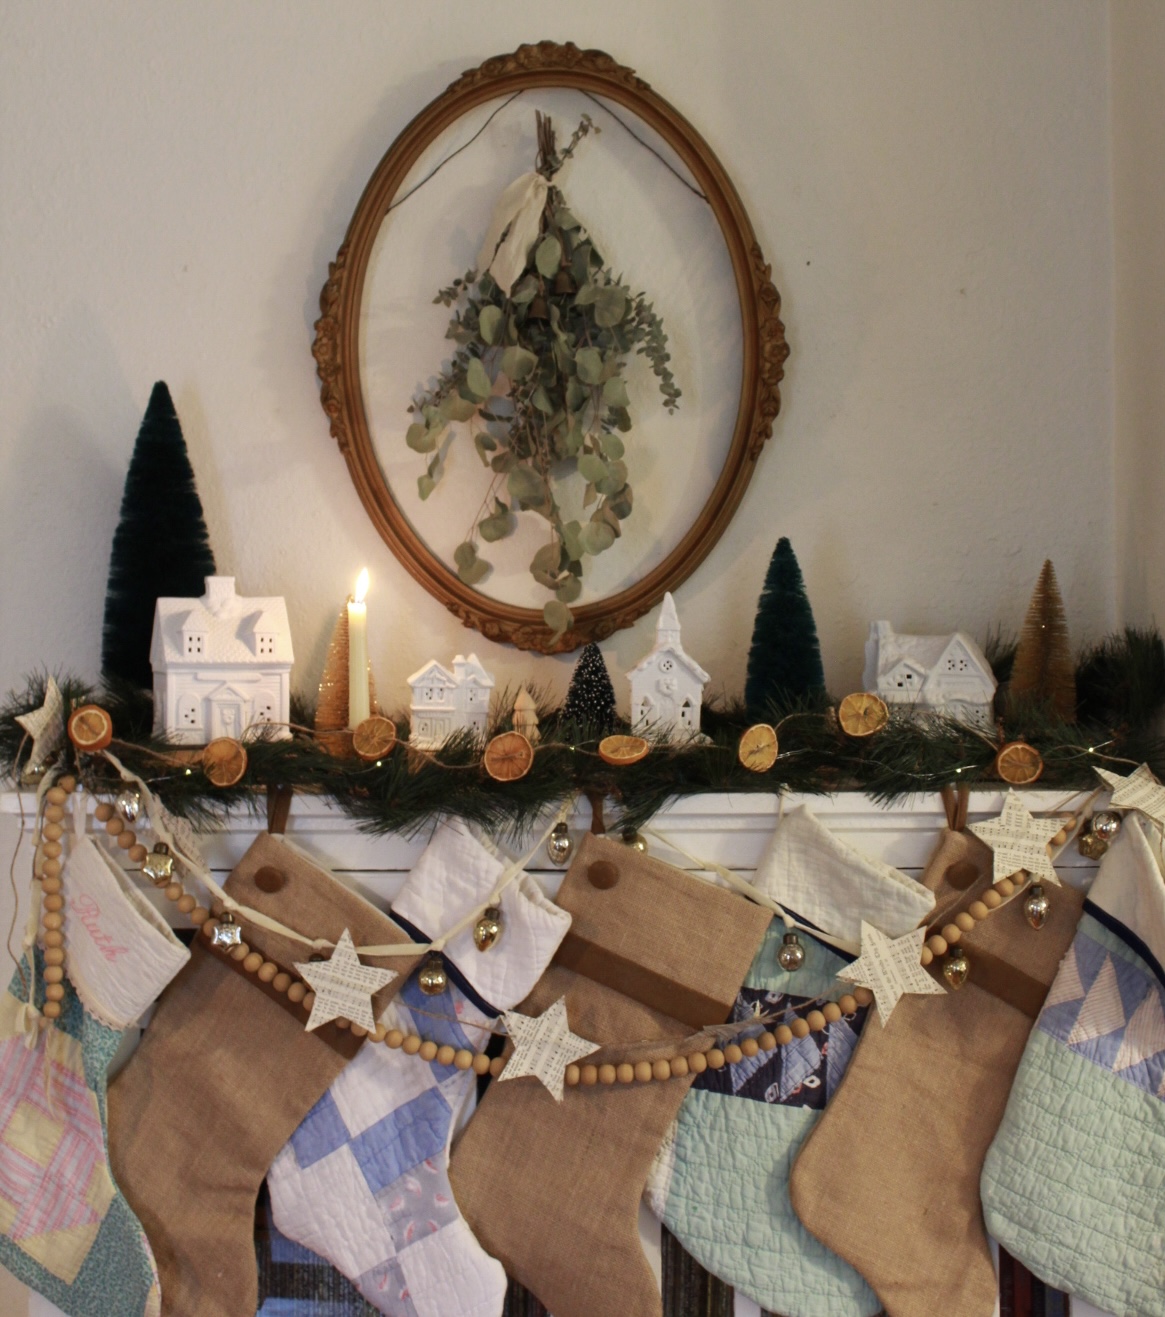
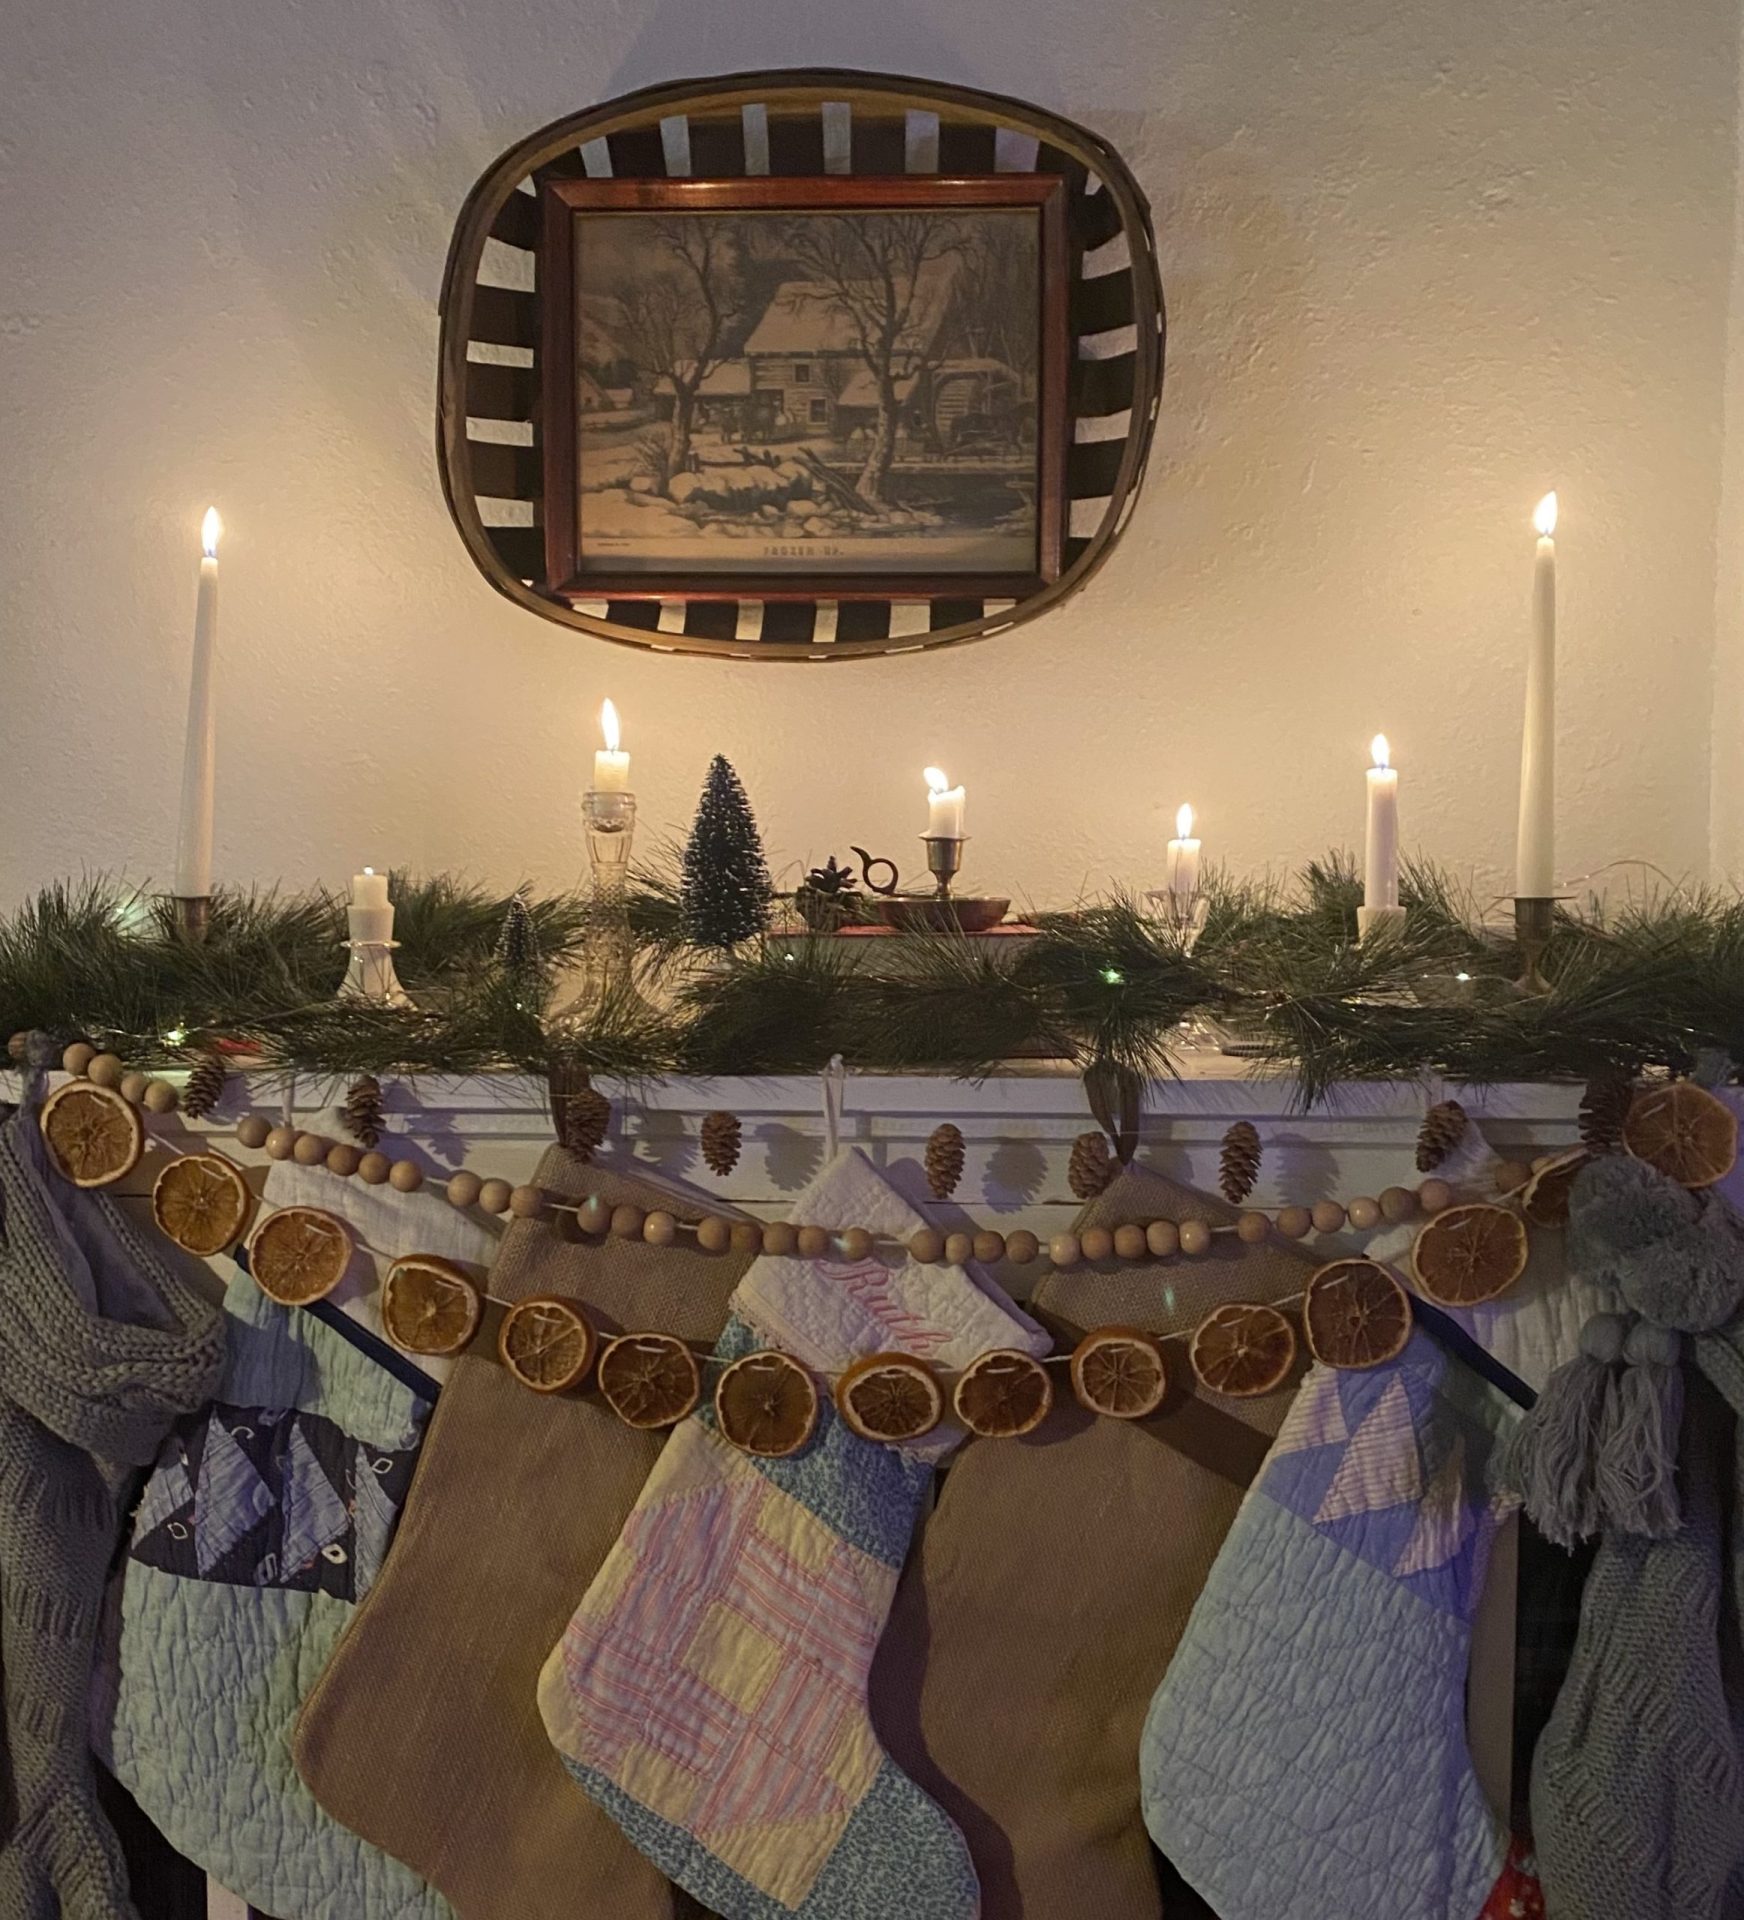
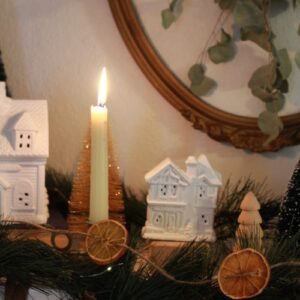
These are so easy to make, though they do take a little bit of time because of the drying process. Take it from me… low and slow is the best way to go on drying this citrus garland. You can use these for decorating the Christmas tree, creating homemade garlands for windows, or simply hanging a strand across a shelf, and these dried oranges glow in the light and feel like stained glass.
More from 12 Days of Christmas Homemaking.
Why I Love Dried Orange Slice Garlands
One of the reasons I keep this project on my Christmas bucket list every year is that it’s such a great way to include my kids. They love helping pick out navel oranges or blood oranges, slicing them, and then watching the drying process in the oven. By the end of December, the house feels festive, and we have new tree ornaments that cost almost nothing to make.
The best part is that you can reuse your dried orange slices next year if you store them well in an airtight container. Last year, I tucked mine into a ziplock bag and they still look beautiful this season.
Garlands aren’t the only thing to use these orange slices for. There are so many creative ways to use them. You can add them to holiday decor, like for gift wrapping, use them in a simmer pot with cinnamon sticks and pine cones, or mix them with wooden beads for a more minimal look.
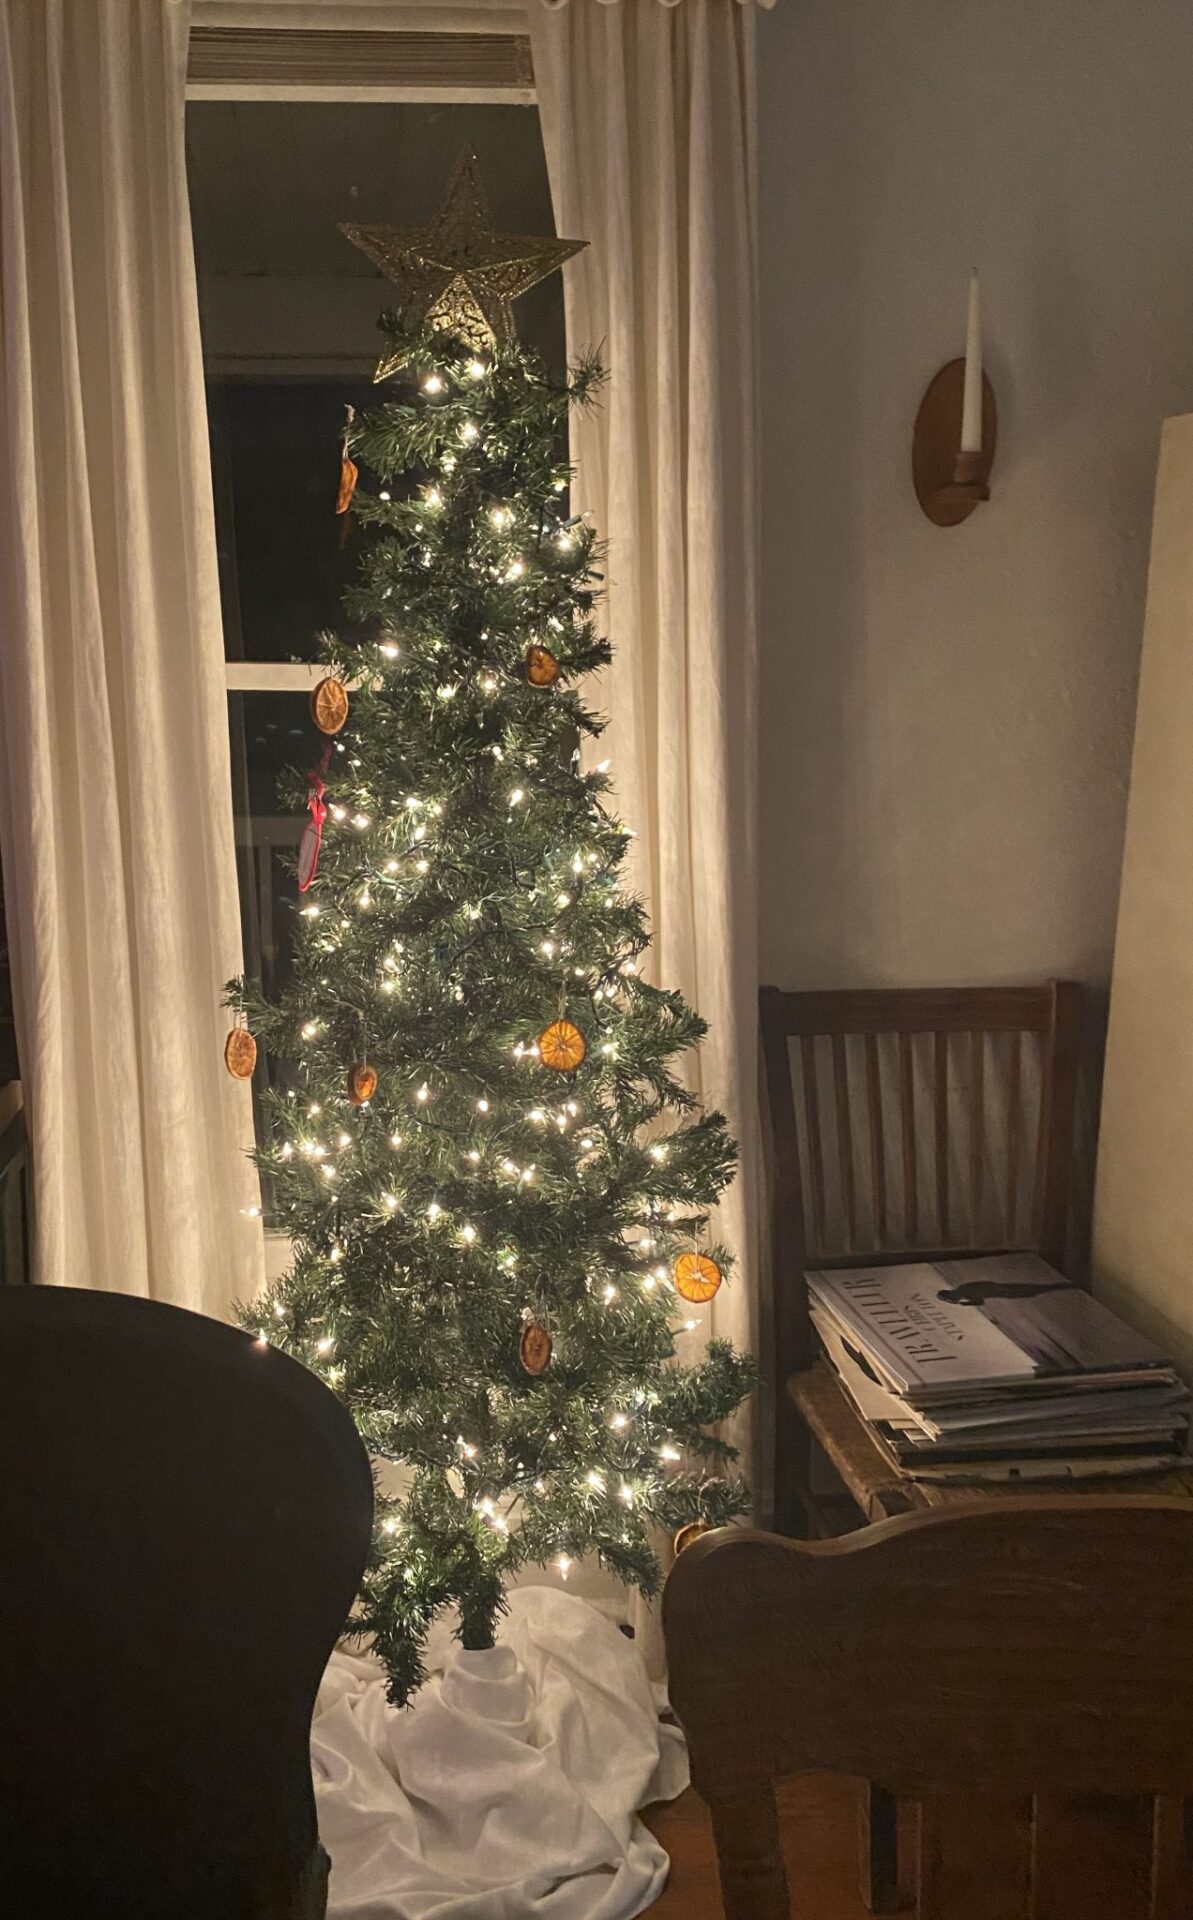
I love how these dried oranges look on the Christmas tree because they glow like stained glass!
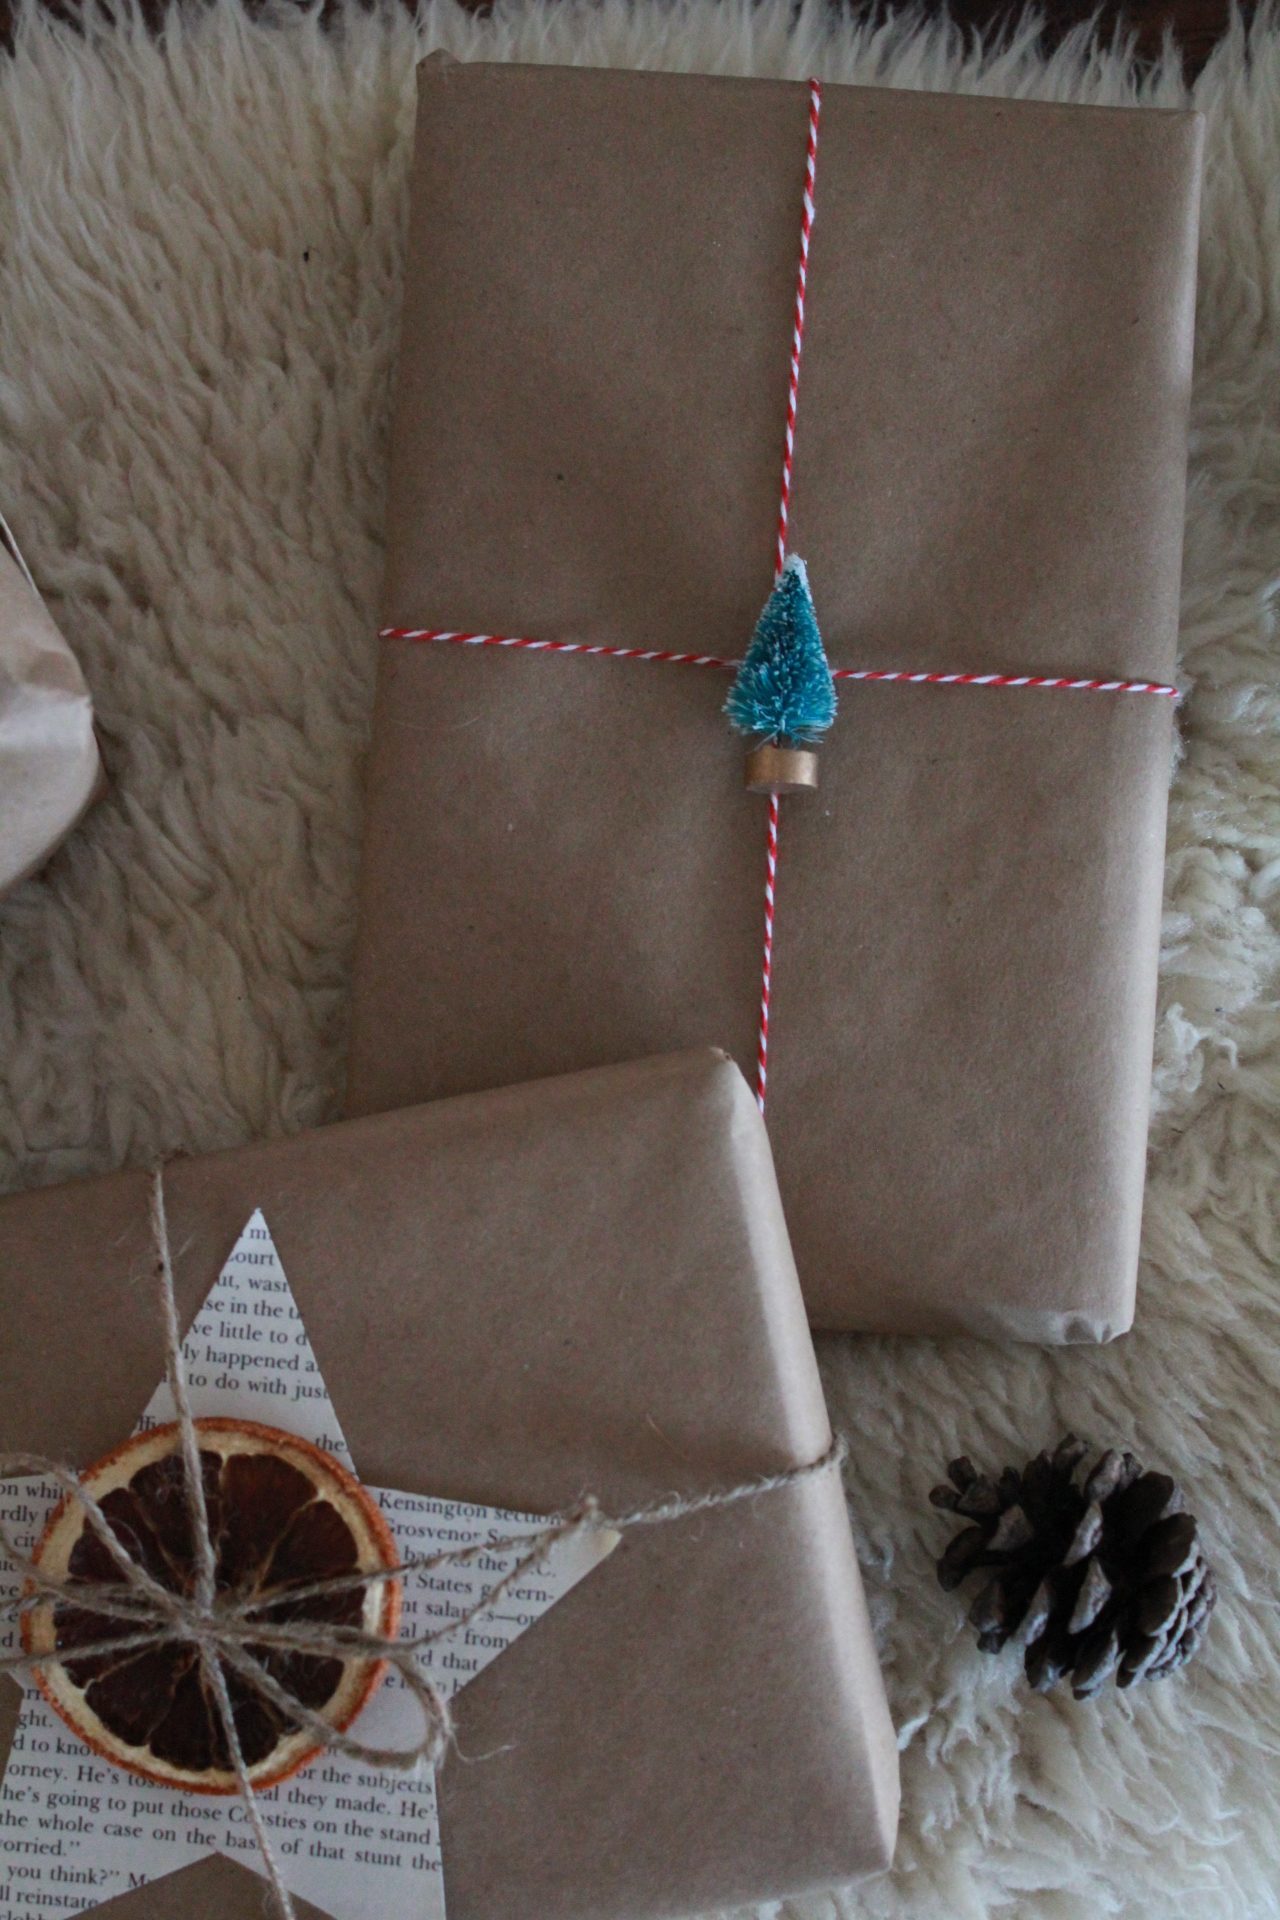
I love using these homemade dried oranges as decoration on my gifts! They add such a pretty pop of color and charm to gifts!
Supplies Needed
- Sharp knife or mandolin slicer
- Cutting board
- Baking sheet or cookie tray
- Scissors
- 5–10 naval oranges (or try other types of citrus like lemon slices or grapefruits)
- Thin tea towel or paper towels to soak ups the extra juice
- Parchment paper
- Wire rack or cooling rack (optional, helps airflow)
- Twine, clear fishing line, or yarn needle and piece of string
- Optional: cinnamon sticks, pine cones, cranberries, popcorn, wooden beads, evergreen branches, ornament hooks
This post contains affiliate links, which means I make a small commission at no extra cost to you. Please read our disclosure policy.
How to Make a Simple Dried Orange Garland
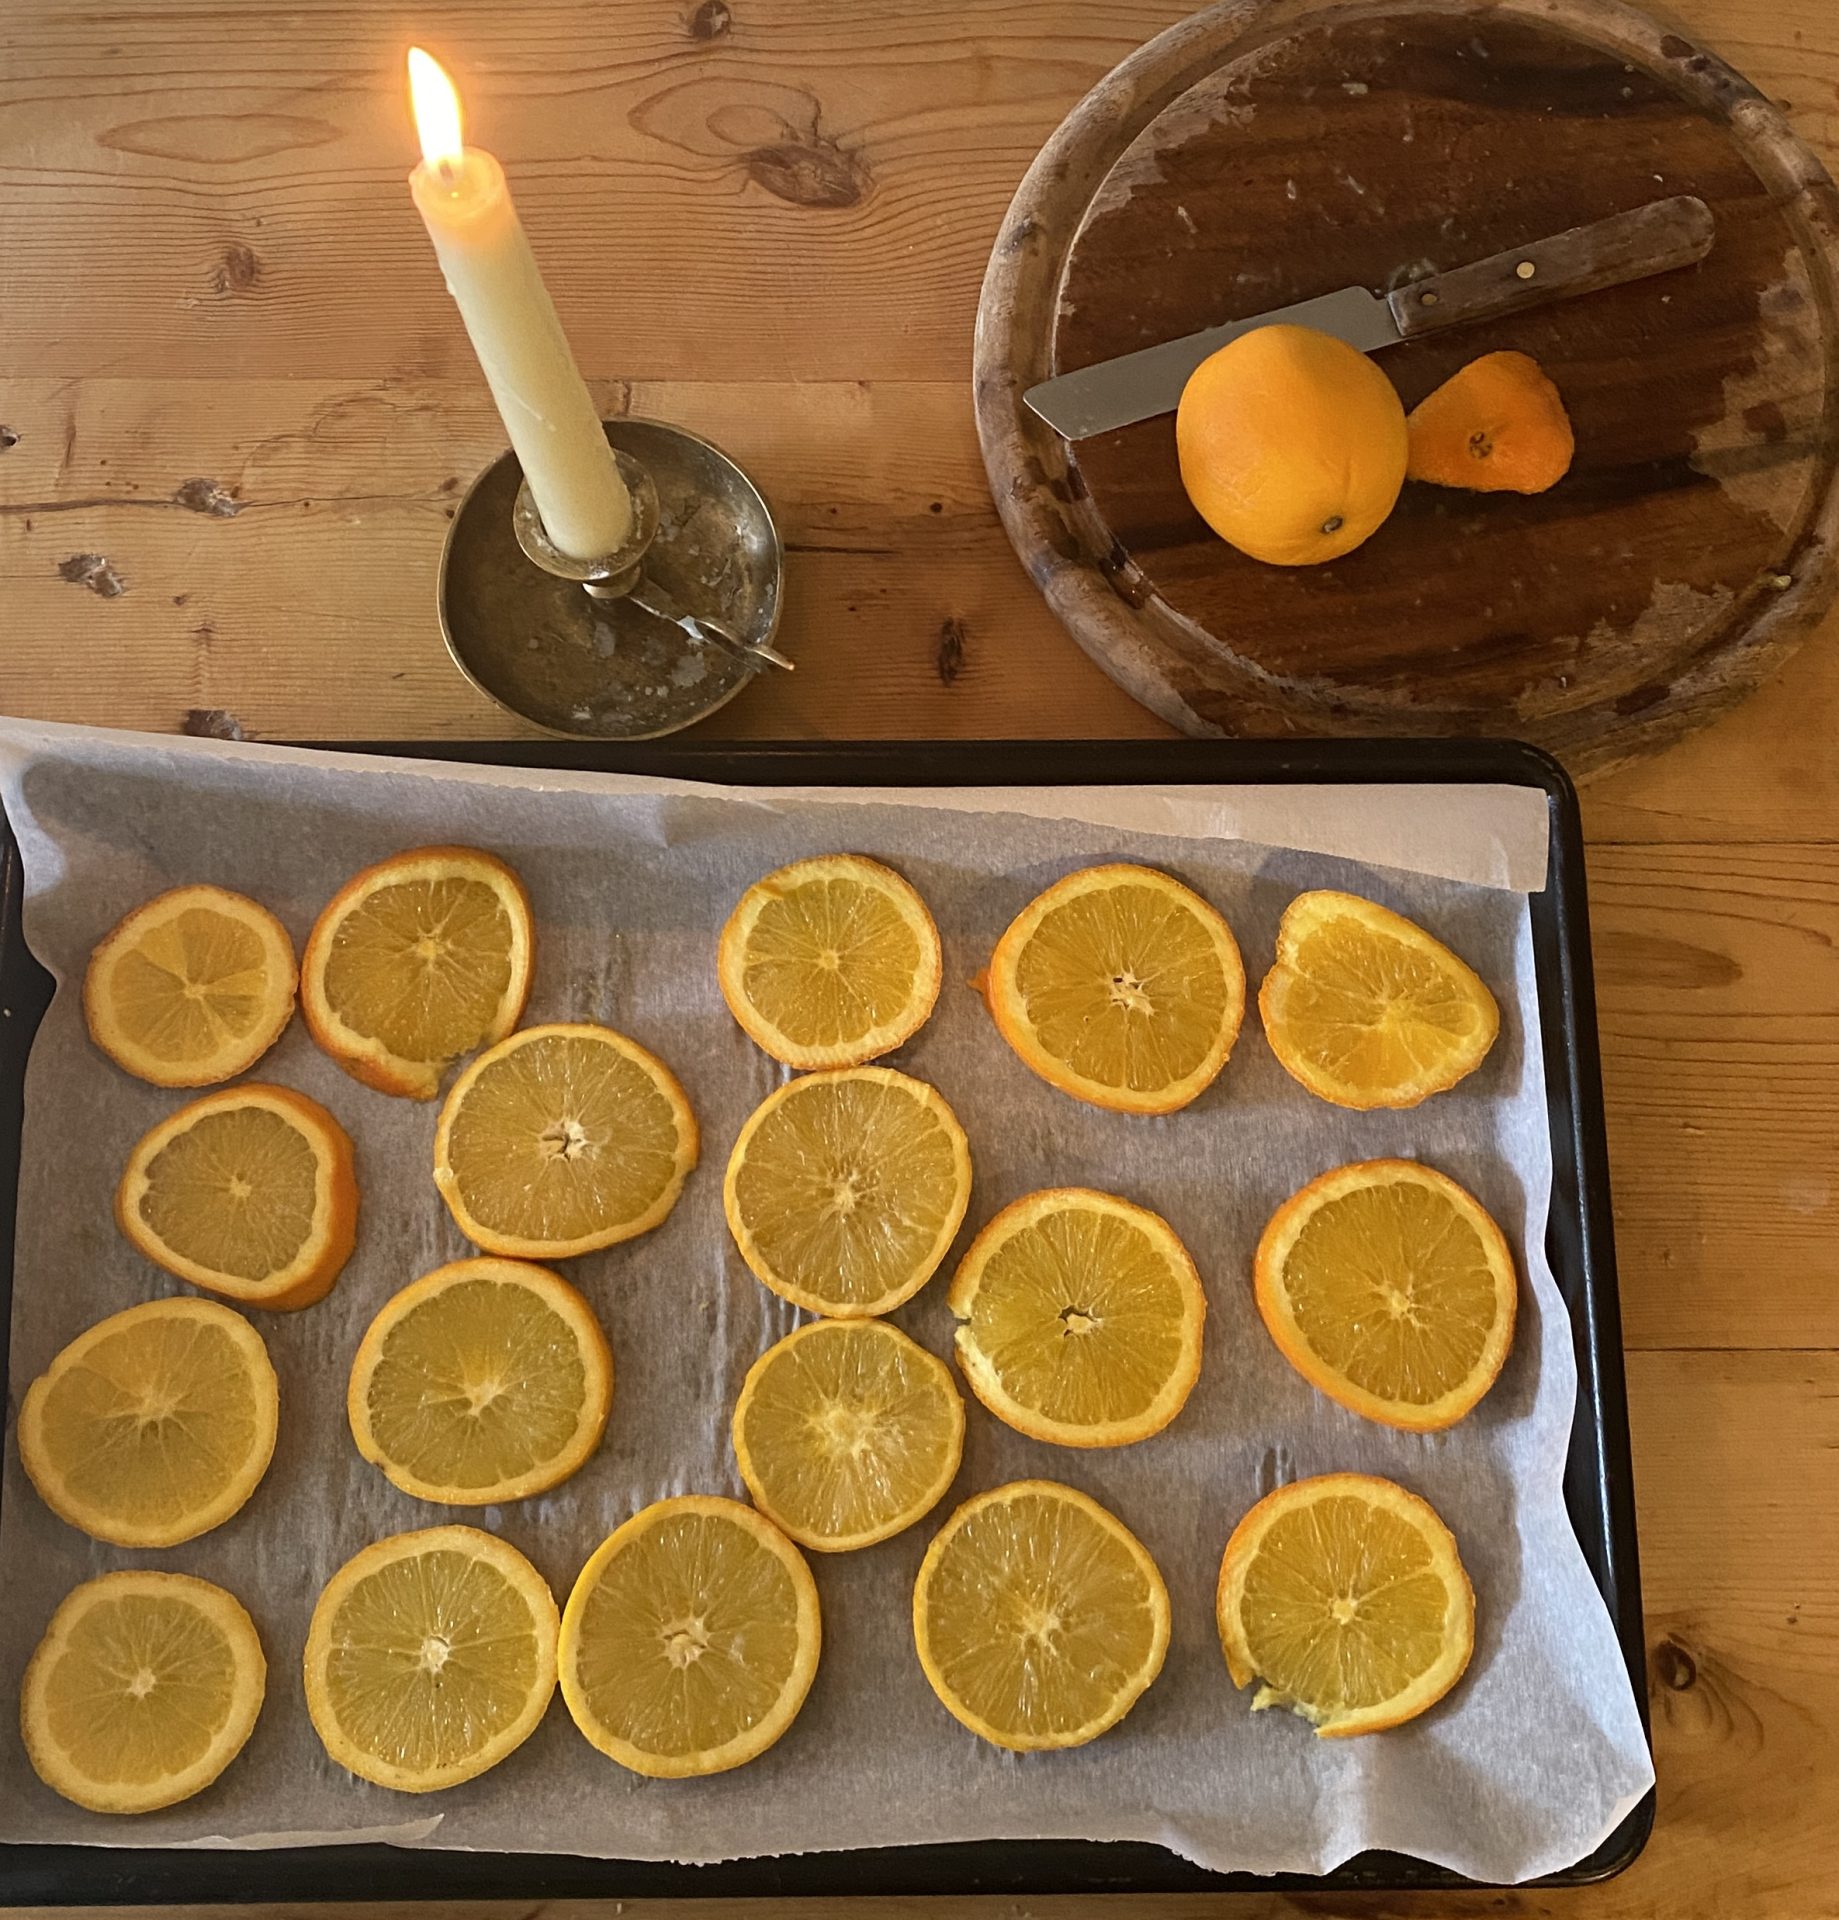
1. Slice Oranges: Choose thick slices or thin slices depending on your preference. Thin slices will dry faster, while thicker slices create more color in the flesh of the orange. Aim for about 1/4″ slices.
2. Remove Excess Juice: Place your sliced oranges in a single layer on a baking rack or lined cookie sheet. Take a thin tea towel or paper towel and gently press down to remove excess juice and excess liquid from each slice. Flip and repeat on the other side of the slice. This helps the drying process go faster.
3. Oven Drying: Heat your oven to the lowest temperature, about 200°F. Place slices on parchment paper and line cookie sheets so they don’t stick. Set them on the top rack of your oven with the oven door cracked slightly to let moisture escape.
Bake the slices for 2 hours. At the hour mark, flip each slice. Continue baking 4–5 hours, flipping every half hour toward the end of the baking step. You’ll know they’re ready when the flesh of the orange looks translucent and no longer sticky.
4. Cool & String: Move slices to a cooling rack and let them dry completely in a dry place. Then use a large needle or yarn needle to thread them with twine or fishing line. Leave about 1–2 inch gaps between each slice for the prettiest look. Make sure you have enough string for your mantel, window, or tree.
Best Ways to Use Dried Oranges
- On the Christmas tree – They glow beautifully with the lights.
- As winter decor – Pair with evergreen and pinecones for natural beauty.
- In homemade garlands – Mix dried orange slices with cranberries, popcorn, or wooden beads for different styles and different ways to display the slices.
- For gift wrapping – Tie onto presents with a piece of string or twine.
- As tree ornaments – Add hooks or string for hanging.
- In a simmer pot – Toss into hot water with cinnamon sticks for fragrance.
Tips and FAQ’s:
How do I store them?
Keep your dehydrated oranges in an airtight container in a dry place until next time you decorate.
What type of oranges should I use?
You can use any type of oranges. Navel oranges are classic, but blood oranges make stunning dark-red citrus slices. Try experimenting with different types of citrus for a variety of looks from the color of the oranges.
Can I use a food dehydrator?
Yes. A food dehydrator is one of the best ways and one of the different methods to speed up the drying process if you don’t want to use the oven drying.
What if my slices burn?
That usually happens if you don’t stick with the lowest temperature or if the thinner slice were left in the oven too long. Keep an eye on them at the half-hour mark. Make sure you set a timer.
How long to dry oranges in the oven for garland?
Bake the slices for 2 hours. At the hour mark, flip each slice. Continue baking 4–5 hours, flipping every half hour toward the end of the baking step. You’ll know they’re ready when the flesh of the orange looks translucent and no longer sticky.
How long will dried orange garland last?
If properly dried, the beautiful dried orange garland should last until the end of the season, and often into the new year or next year as long as they are stored properly.
Other DIY Projects / Christmas Crafts to Try:
These DIY Paper Bag Snowflakes are so much fun and easy to make!
DIY Paper Star Garlands are simple and add such a vintage charm to your Christmas decor.
This simple dried orange garland project is the perfect way to slow down during the Christmas season. It doesn’t take much more than a little bit of time and a few oranges, and the results are stunning and old-fashion. You can hang them as a dried orange slice garland or tuck them into gifts, and these homemade touches are a simple way to fill your home with warmth and vintage charm all holiday season.
I hope this resource blesses you and your family this year!
How to Make Homemade Dried Orange Garland in the Oven
Equipment
- Sharp knife or mandolin slicer
- cutting board
- Baking sheet or cookie tray
- scissors
- 5–10 naval oranges (or try other types of citrus like lemon slices or grapefruits)
- Thin tea towel or paper towel
- parchment paper
- Wire rack or cooling rack (optional, helps airflow)
- Twine, clear fishing line, or yarn needle and piece of string
- Cinnamon sticks, pine cones, cranberries, popcorn, wooden beads, evergreen branches, ornament hooks optional
Ingredients
- 5–10 naval oranges (or try other types of citrus like lemon slices or grapefruits)
Instructions
- Slice Oranges: Choose thick slices or thin slices depending on your preference. Thin slices will dry faster, while thicker slices create more color in the flesh of the orange. Aim for about 1/4" slices.
- Remove Excess Juice: Place your sliced oranges in a single layer on a baking rack or lined cookie sheet. Take a thin tea towel or paper towel and gently press down to remove excess juice and excess liquid from each slice. Flip and repeat on the other side of the slice. This helps the drying process go faster.
- Oven Drying: Heat your oven to the lowest temperature, about 200°F. Place slices on parchment paper and line cookie sheets so they don't stick. Set them on the top rack of your oven with the oven door cracked slightly to let moisture escape.Bake the slices for 2 hours. At the hour mark, flip each slice. Continue baking 4–5 hours, flipping every half hour toward the end of the baking step. You’ll know they’re ready when the flesh of the orange looks translucent and no longer sticky.
- Cool & String: Move slices to a cooling rack and let them dry completely in a dry place. Then use a large needle or yarn needle to thread them with twine or fishing line. Leave about 1–2 inch gaps between each slice for the prettiest look. Make sure you have enough string for your mantel, window, or tree.