
Sourdough Starter Schedule: How to Feed and Maintain
Keeping a sourdough starter healthy doesn’t have to feel confusing or overwhelming. With a simple sourdough starter schedule and the right tools, anyone can maintain their own sourdough starter and enjoy confident sourdough bread baking.
This blog post gives you a clear daily routine, feeding ratios, and troubleshooting tips so you can build a bubbly sourdough starter that supports all your sourdough bread recipes.
If you like this starter guide, you’ll love trying a few of my favorite sourdough recipes too, especially my sourdough discard recipes, my fluffy sourdough blueberry muffins, and my simple sourdough bread recipe that beginners always succeed with.
Tools Needed for a Reliable Feeding Schedule
Gathering the right supplies is a great way to set yourself up for success. Before you begin, make sure you have:
- A kitchen scale – needed for accuracy when measuring g water, g flour, or g bread flour
- Two clean jars for rotation or storing a fed starter. Weck jars work great if you prefer wide, easy-to-clean containers
- A rubber band to mark how much the starter rises
- Flour – all purpose flour or organic flour for daily feedings. Whole wheat flour, whole grain, or rye flour for strength boosts
- Warm water for easier mixing
- A razor blade for scoring bread dough on baking day. A bread lame also works great.
- A dutch oven for baking loaves
All of these simple ingredients and tools make it easier to follow a specific feeding ratio and stick to the entire process.
Related Post: The Best Sourdough Baking Supplies for Home Bakers

Understanding How a Starter Behaves
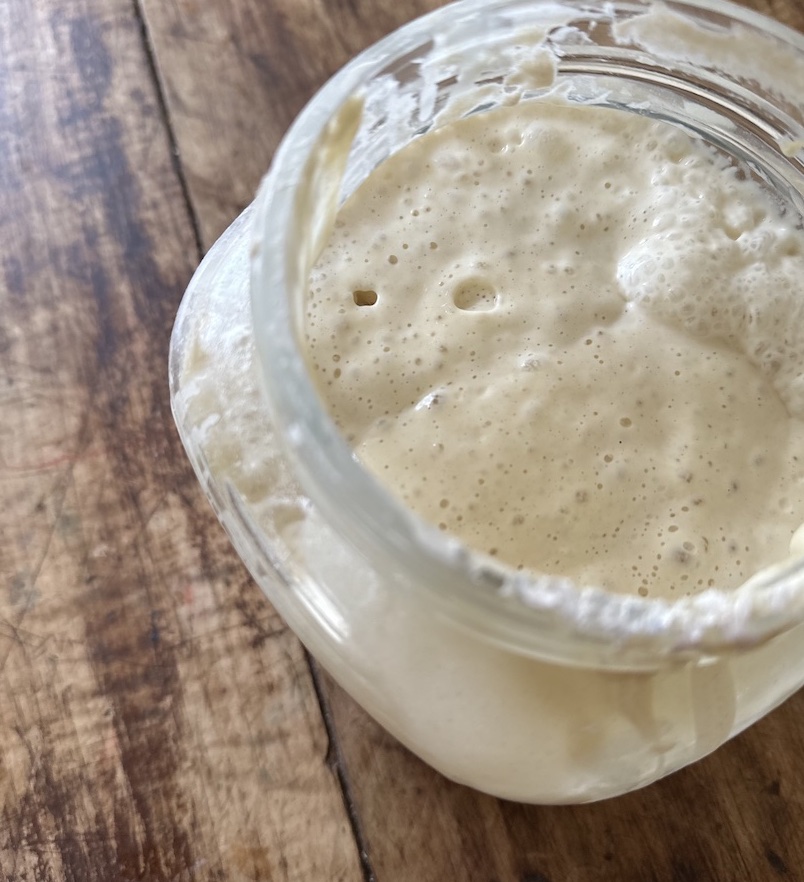
A sourdough starter is a living mixture of wild yeast and beneficial bacteria that feed on fresh flour and water during the fermentation process. The sourdough starter creation process might feel slow at first, especially the first couple of days, but it won’t be long before you start to see lots of bubbles and that sour smell that tells you good bread is in your future.
A few things to know:
- Room temperature produces the most predictable rise.
- Warmer temperatures cause faster fermentation.
- Cooler temperatures slow everything down.
- If you see dark liquid on top, it simply means your starter needs new food.
- A float test in a glass of water shows whether you have an active starter.
If caring for a new starter or working with a mature one, the schedule below helps you create a successful sourdough starter with less time spent guessing. It also is a low-waste process which is so nice!

This post contains affiliate links, which means I make a small commission at no extra cost to you. Please read our disclosure policy.

Your Daily Sourdough Starter Schedule
This schedule works well for almost everyone. Beginners, busy moms, and even experienced bakers who want consistency in their baking. It’s perfect if you’re maintaining an active sourdough starter at warm temperature or even cold-storing your starter between bakes, this routine keeps things simple.
Right Before Bed – Feed Your Starter
If you’re wanting to bake in the next few days, keep your starter on the counter at room temperature for regular feedings. Feed it in the evening to let it ferment and grow overnight.
- Add the amount of starter you want need into a clean jar (usually 10-20g).
- Discard the remaining starter or save it for sourdough discard recipes. I like to keep a discard jar in my refrigerator.
- Add equal parts fresh flour and warm water (example: 50g water + 50g flour).
- Stir until smooth and all flour is absorbed. If it feels like sticky dough, add a tiny splash more water.
- Place a rubber band around the jar to mark the starting level if you would like.
- Set it in a warm place. Near the stove is perfect.
Signs that your sourdough starter is happy:
- Lots of bubbles
- It doubles in size
- If your sourdough starter is new, it is still developing, so give it patience.
First Thing in the Morning – Observe the Rise
First thing the next day, take a moment to visually check your starter:
- Has the starter doubled?
- Does it look like a bubbly sourdough starter?
- Do you see signs of fermentation (bubbles, foam, streaks, movement)?
- Is there a thin layer forming on top?
If it’s already doubled, your kitchen probably has warmer temperatures. That means you should move to the next step.
Afternoon – Create Your Levain with Your Strengthened Starter
If you’re preparing to bake bread the next day, this step helps bulk up your active sourdough starter to make sourdough bread.
Feed using a specific feeding ratio:
- Give your starter a big feed. This will create your levain: 27 grams starter, 135 grams flour, 135 grams water (1:5:5 ratio). This feed helps the starter get strong and ready by the next morning to bake bread, with plenty of starter to make two loaves.
- Leave this at room temperature overnight to ferment and rise to make dough the next morning.
In-between Bakings
If you’re not planning to bake soon:
- Place the starter in the fridge.
- Feed it once weekly.
- This routine fits both a new sourdough starter or a mature one that only needs occasional care.
Want my simple sourdough care + baking guide?
Grab my FREE Sourdough Instructions Printable and learn how to bake sourdough with confidence.

Using Your Starter for Baking Days
When your starter peaks, it’s ready for sourdough recipes like sourdough focaccia or sourdough sandwich bread. You’ll know it’s ready when:
- The starter rises reliably and is bubbly.
- It passes the float test.
- It smells pleasantly tangy, not overly sharp.
A warm place and fresh flour are the best tips for maintaining steady fermentation. King Arthur flours are especially reliable if you want consistent structure and predictable rises. It’s my favorite flour that I can source easily.
Related Post: How to Dehydrate Sourdough Starter for Long Term Storage
Troubleshooting Common Starter Issues
Use this checklist when your starter seems “off”:
If your starter falls quickly:
- Try a different ratio for feeding. This is just what personally works well for me.
- Move it to a slightly warmer temperature area.
You have too much starter:
- Don’t worry. This is normal in the creation stage.
- Use the excess in sourdough discard recipes.
If your starter won’t rise:
- Switch to whole grain for a day or two.
- Try organic flour for a nutrient boost.
- Ensure water is not too hot or cold.
- Give it more time.
The smell is too strong:
- Give a few days of regular feedings.
- Make sure to discard before feeding into a new jar.
If you see dark liquid:
- Stir it in or pour off. It simply means it needs new food and it hungry.

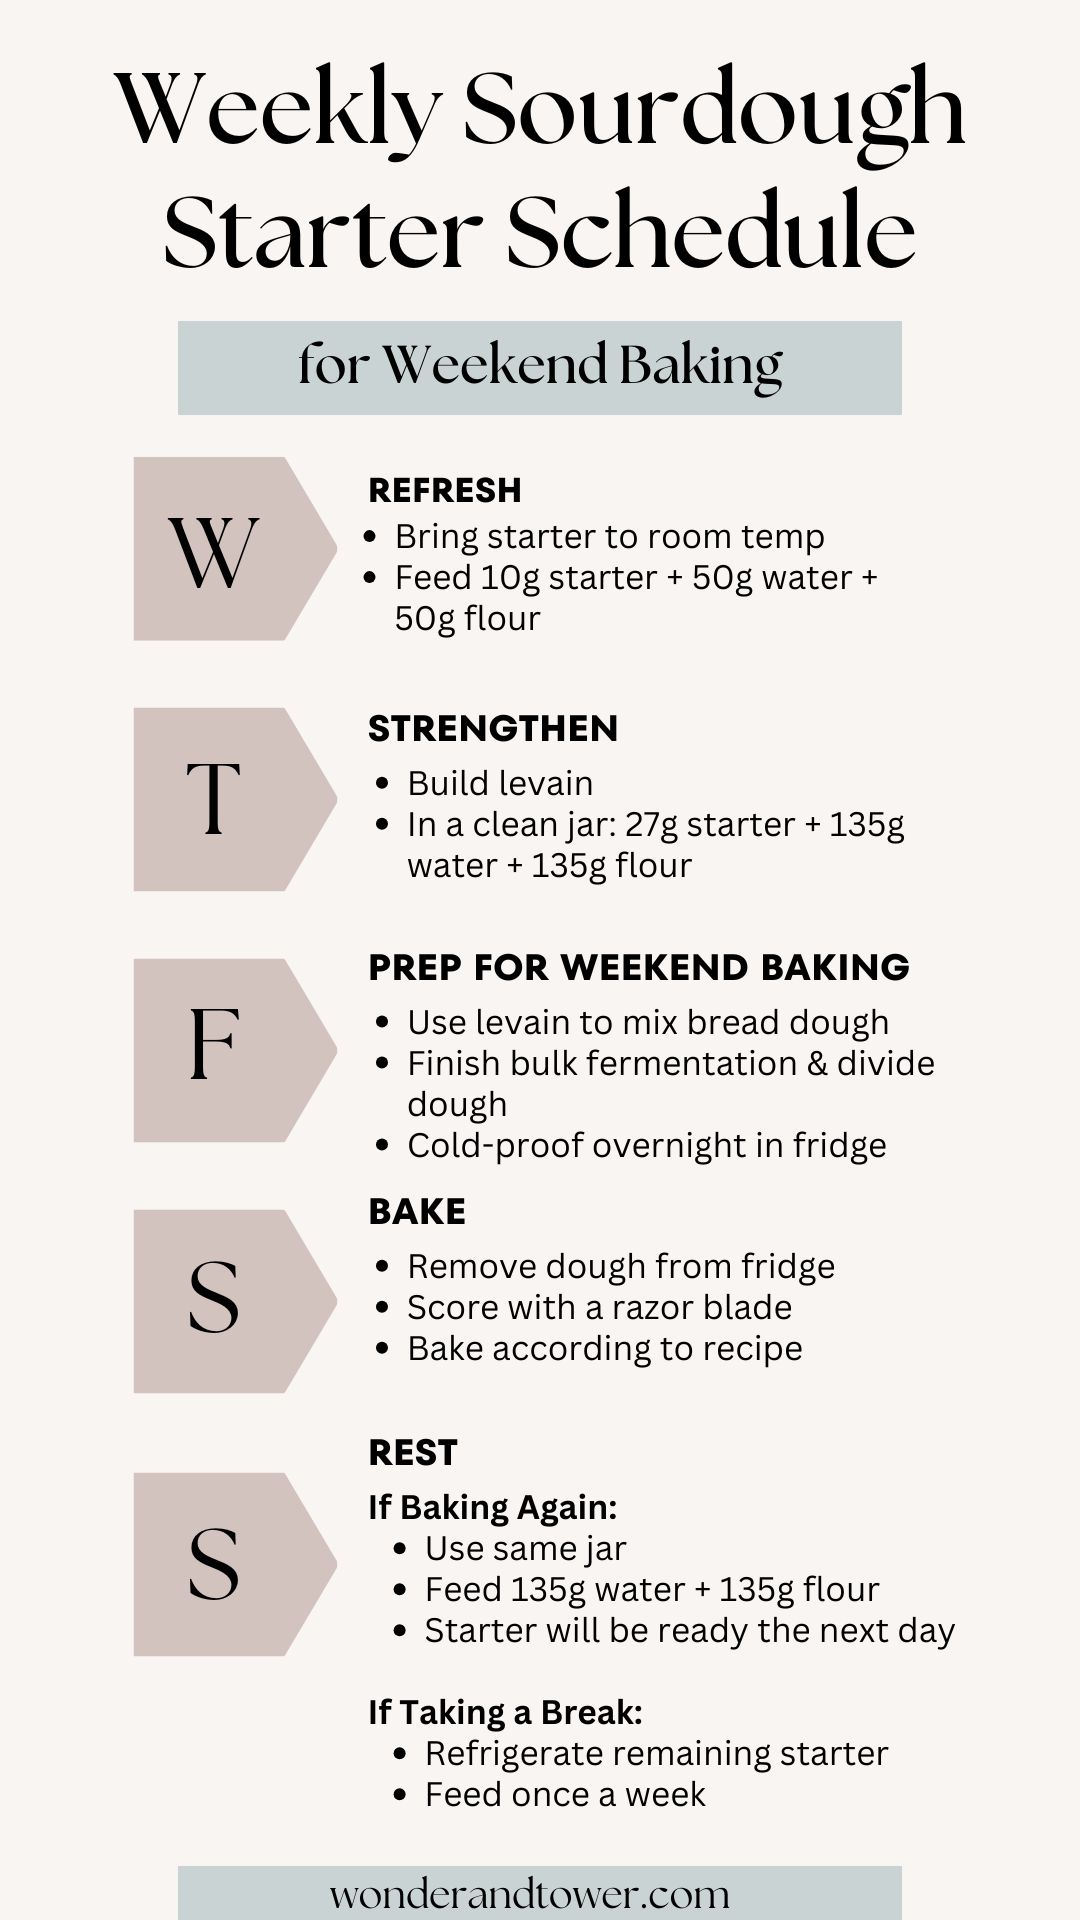
Weekly Starter Maintenance Schedule
This is a great way to keep a successful sourdough starter without daily maintenance. If you want a simple long-term routine, here’s a clear weekly plan for weekend bread baking:
WEDNESDAY – Refresh
- Warm it up on counter.
- Do a refresh feed of 10 g starter, 50 g water, 50 g flour (1:5:5 ratio).
THURSDAY – Strengthen
- Create your levain by feeding into a clean jar 27 g starer, 135 g water, 135 g flour.
FRIDAY – Prep for Weekend Baking
- Use the levain to create your bread dough. This is a good basic sourdough bread recipe.
- Once you do your bulk fermentation, divide dough, and cold-proof your dough overnight in the refrigerator.
SATURDAY – Bake
- Pull out the dough, score with a razor blade before baking.
- Bake according to instructions.
SUNDAY – Rest
- If you want to make more bread or another sourdough recipe right away, go ahead and use the same jar (leave all the bits of starter from your levain), and feed it 135 g water and 135 g flour. It will be ready the next day to make more bread to continue the process.
- If you want to take a break from baking, refrigerate your remaining starter. Feed it once a week.
FAQs
How soon after feeding sourdough starter can I use it?
You can usually use sourdough starter 4–12 hours after feeding, depending on the temperature of your kitchen and how active your starter is. The best time to use it is when it has risen to its peak, looks bubbly and airy, and passes the float test
How much to feed sourdough starter?
My recommendation for feeding your sourdough starter is a 1:5:5 ratio. You’ll mix 1 part starter, 5 parts water, and 5 parts flour. This means 10 g of starter, you’ll feed it with 50 g water and 50 g flour. This higher-ratio feed strengthens your culture, reduces acidity, and helps create a predictable rise for consistent baking.
How to make sourdough more sour?
You can make your sourdough more sour by adjusting a few parts of your starter routine and dough process. For a tangier loaf, try longer, cooler fermentation, which encourages the bacteria that produce lactic and acetic acids. You can also feed your starter less frequently, use a lower hydration starter, or incorporate whole grain flour, all of which increase acidity. Letting your shaped dough cold-proof overnight deepens the sour flavor even more.
How to use sourdough starter from the fridge?
You can use sourdough starter from the fridge, but it’ s best to be refreshed first so it’s strong enough to help your dough rise. Active, recently fed starter will create the best sourdough bread. Remove it from the fridge and give it one or two feedings at room temperature, allowing it to fully rise and become bubbly again.

Helpful Sourdough Starter Schedule
Following a simple sourdough starter schedule makes the entire process more predictable and enjoyable. With a little bit of flour, warm water, and consistency, your own sourdough starter will become an active starter you can use for years.
Whether you’re working on your first starter or nurturing a new food routine for your weekly bakes, the steps above offer a clear, flexible plan anyone can follow. And once you understand how fermentation works from the first thing in the morning to the next day, you’ll feel confident and ready to create good bread any time you like.
